Guía paso a paso
¡Encuentra todos los procedimientos completamente explicados!
Siéntete siempre apoyado, incluso cuando no estás en contacto con nosotros.
How to add stock to products
Temas relacionados
Categories & products - Stock control
Customer area
How to add stock to products
When the product has the "Has Stock" button activated, there are two ways to add stock: manually or automatically.
Manual stock movements
Let's start by adding the stock we currently have when creating the product.
When creating the product, in the General tab, you need to indicate that it is a product. Next to it, you will see a button called Has Stock. If you activate it, an additional tab will automatically appear, named:
Warehouse: in this tab, you can associate the product with a warehouse. Once associated, you can define the current stock and a minimum stock level, if desired.
(Minimum stock: this is the minimum number of units the product must have in stock. When this level is reached, an alert will notify you that the product is at its minimum stock.)
Another way to add a manual stock movement
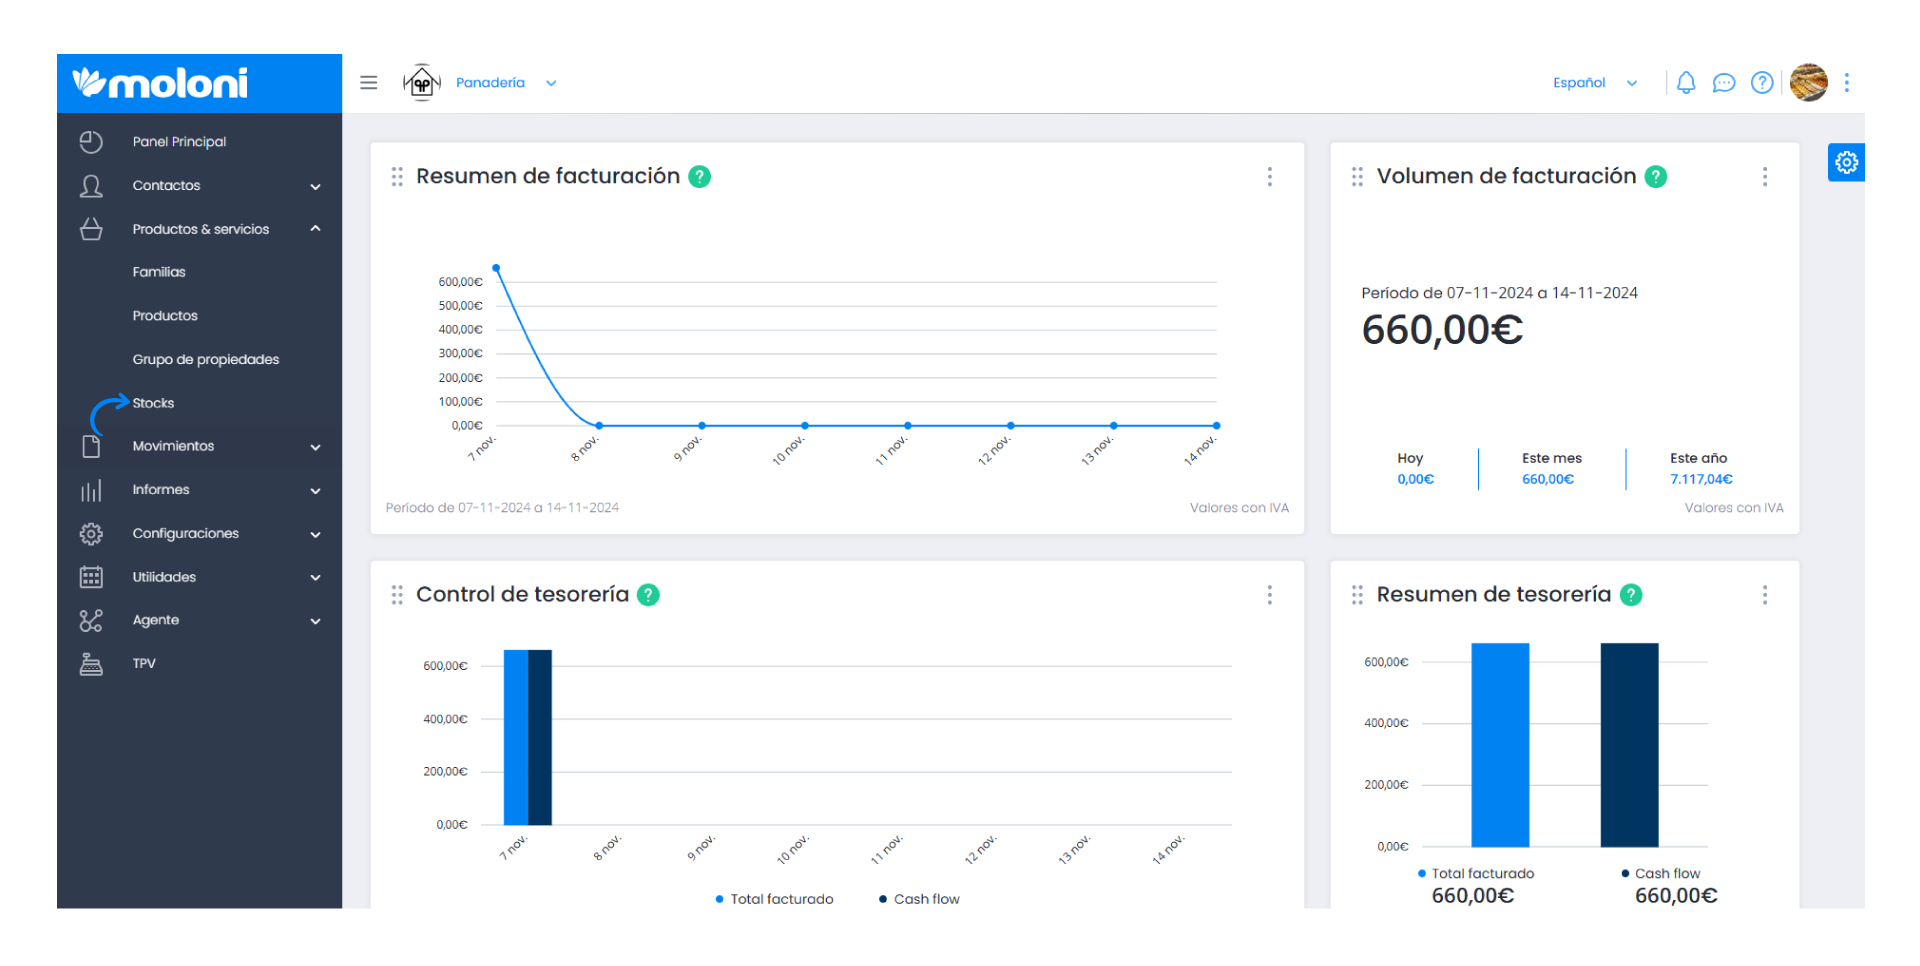
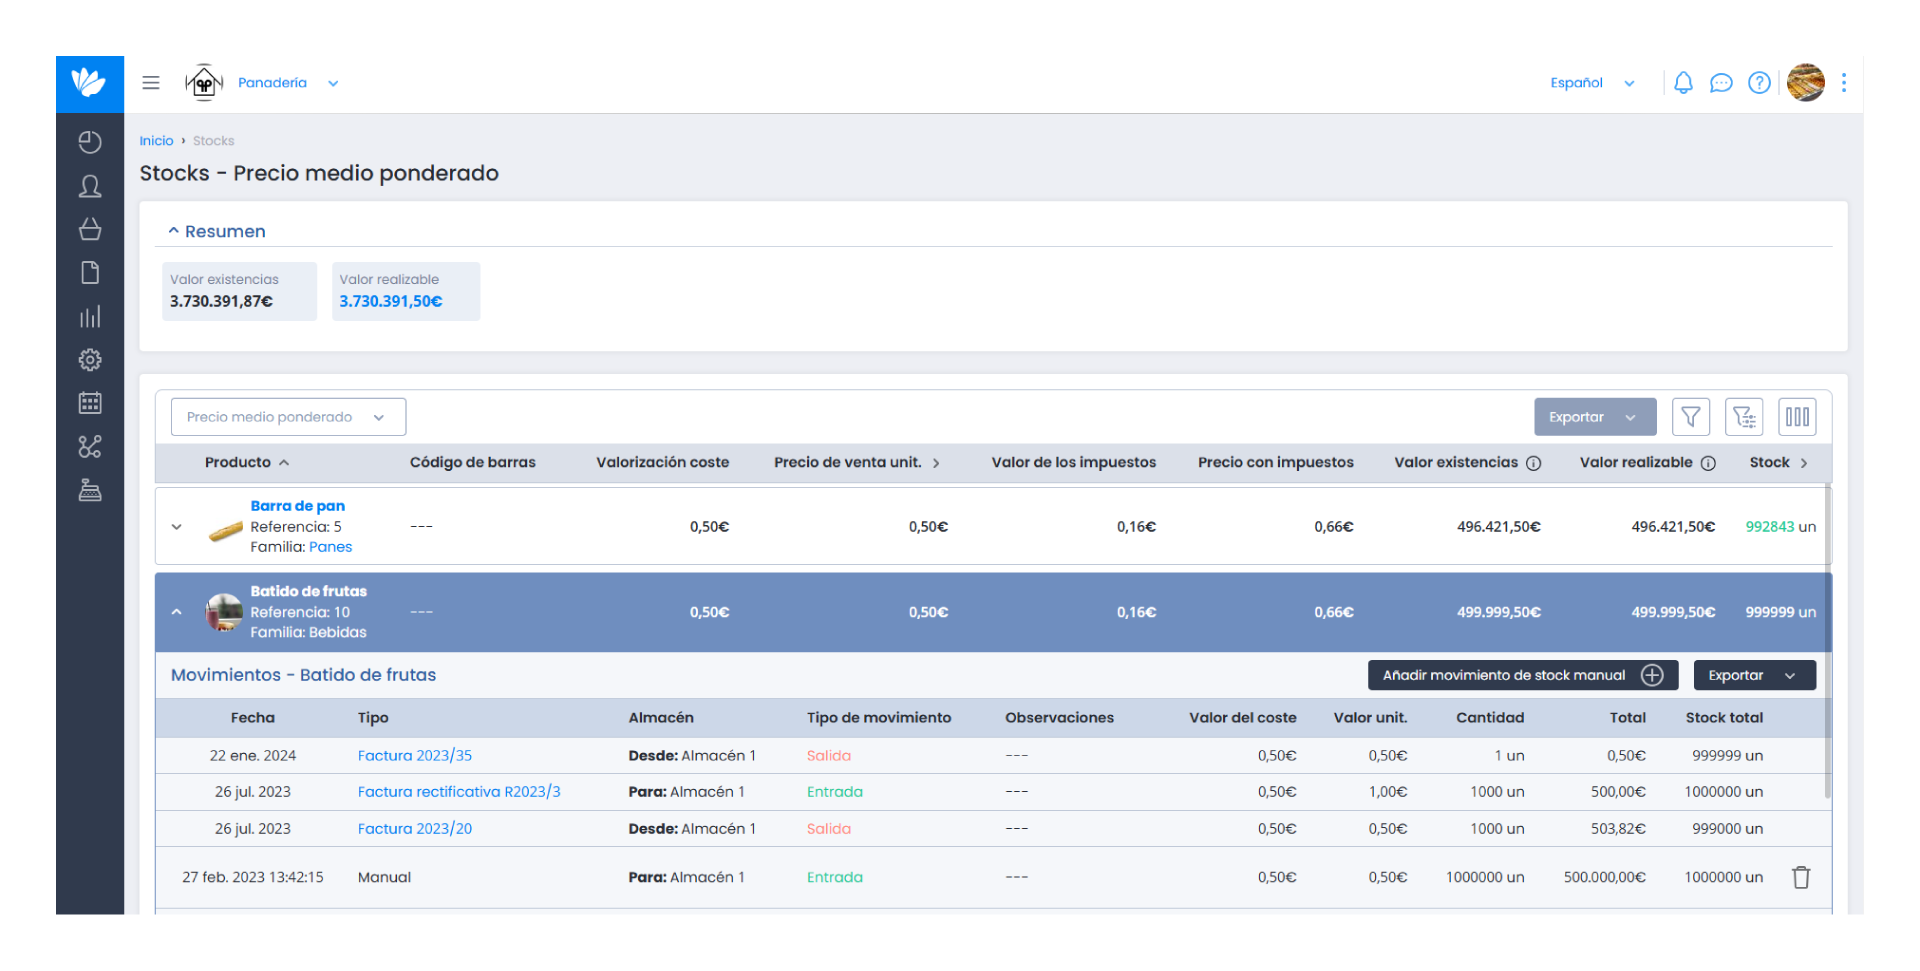
Go to the Products & services > Stocks menu.

A list of products configured to have stock will appear.

Click on the selected product, and you will see a (+) symbol. This allows you to create a manual stock movement.
By selecting this button, you can register stock movements for entry, exit, or transfers between warehouses.
Automatic stock movements are generated through the creation of purchase or sales documents, provided the Has Stock button is activated for the product.
Documents that move stock (outflow):
- Invoices;
- Simplified Invoices;
- Bill of Lading (when the option is activated).
Documents that move stock (inflow):
- Supplier Invoices;
- Credit Notes.


