Guía paso a paso
¡Encuentra todos los procedimientos completamente explicados!
Siéntete siempre apoyado, incluso cuando no estás en contacto con nosotros.
How to manage label models in Moloni ?
Temas relacionados
Ver másProducts & Services
Customer area
How to manage label models in Moloni ?
Did you know that in Moloni it is possible to customise the labels of the products through several models?
It is a very simple process that is carried out through your company's Settings.
Follow the steps:
1. Go to the menu Settings > Products > Label templates.
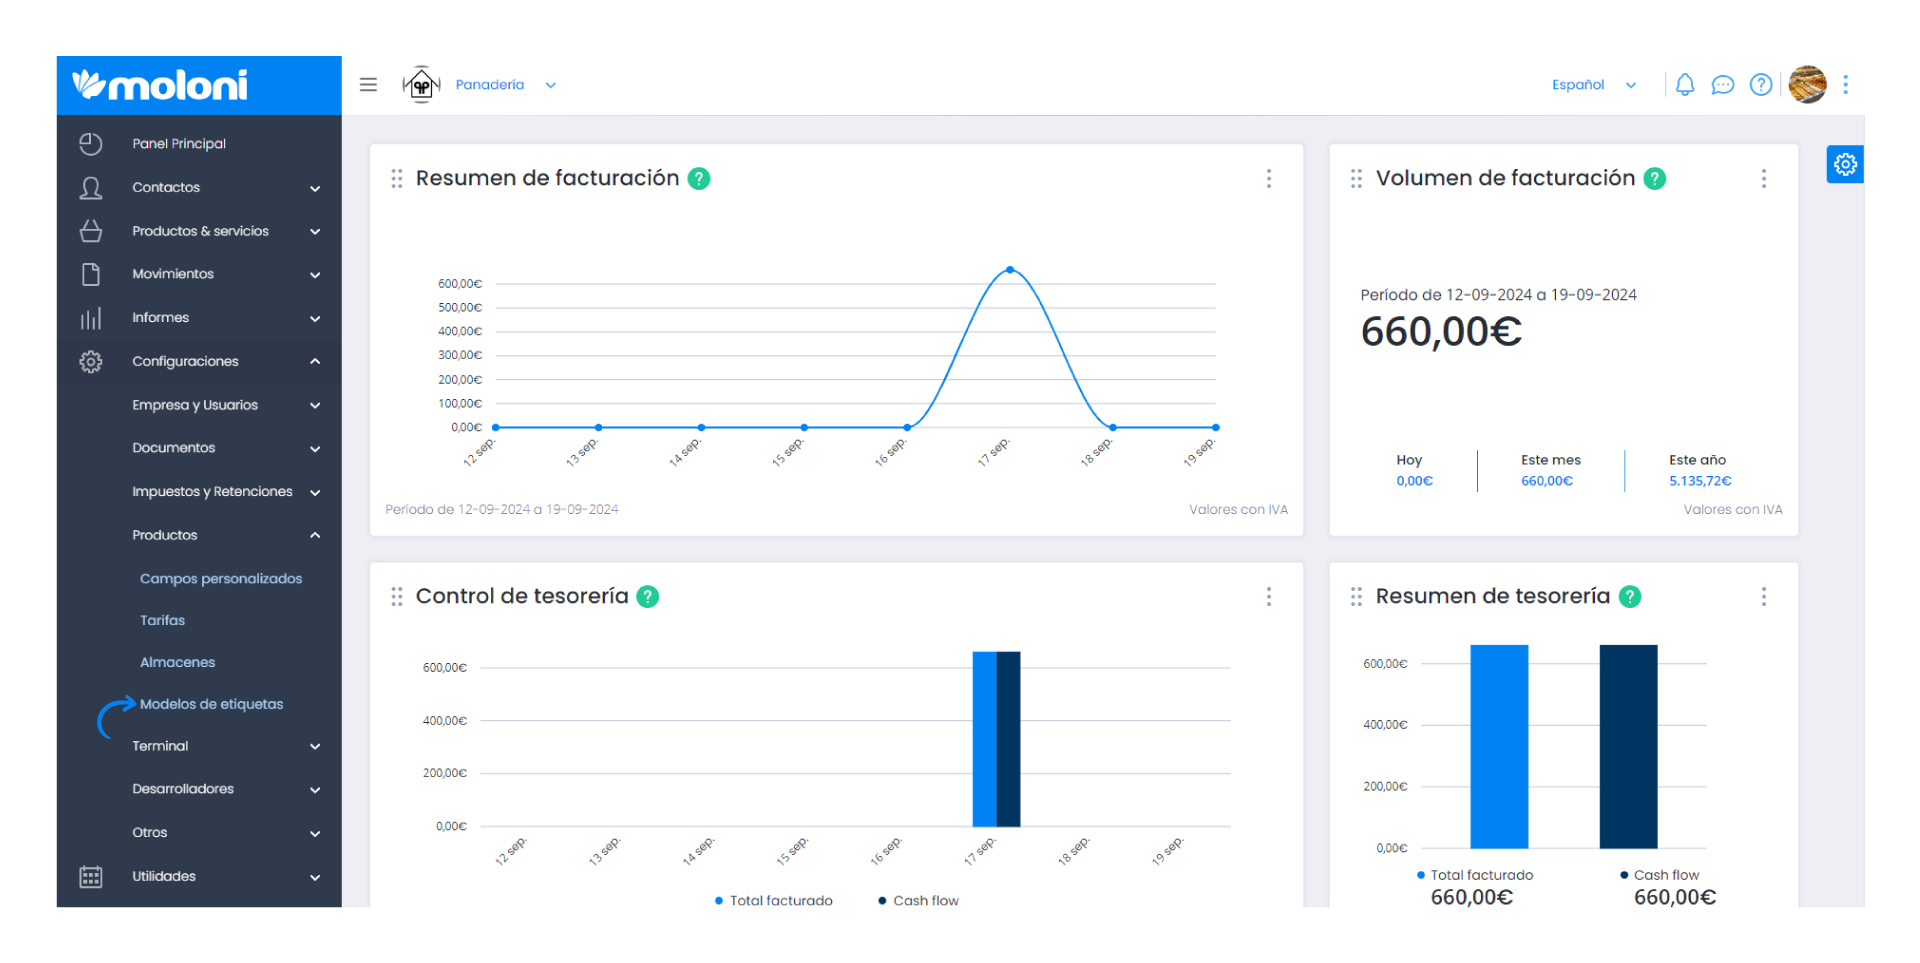
2. In this tab you can customise your labels by adding a new label template or a predefined template. These templates can be used and modified whenever necessary.
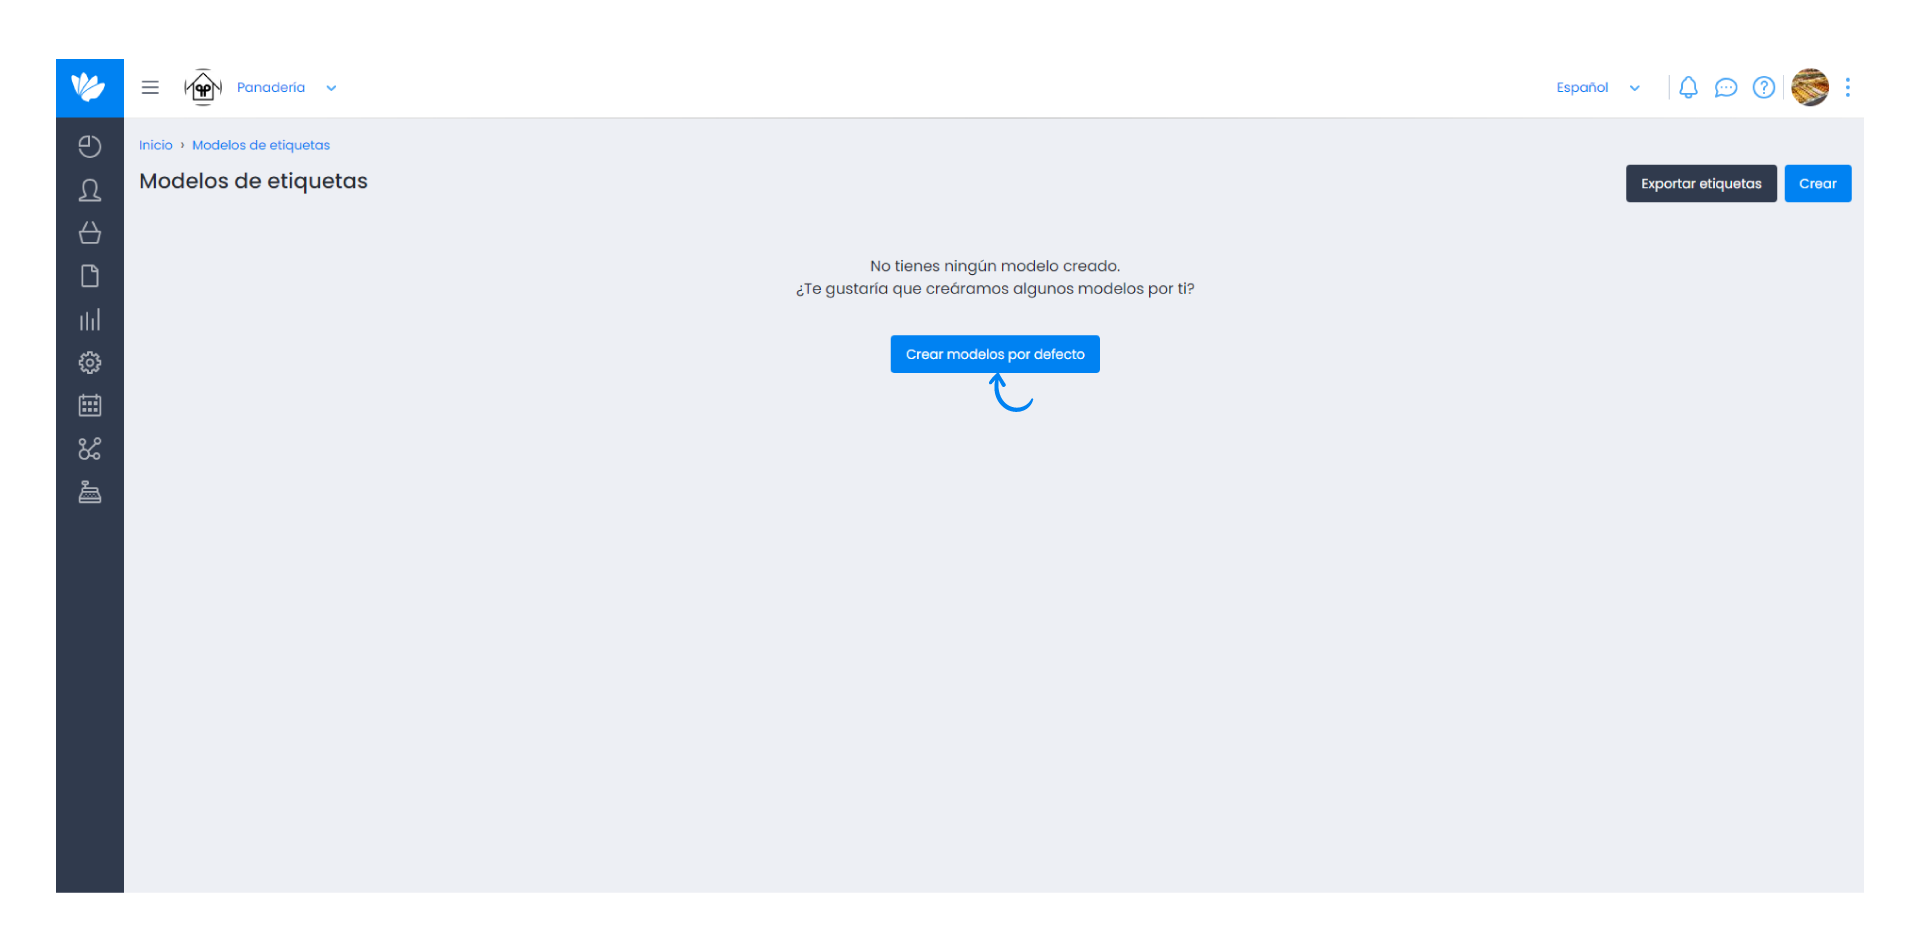
If you do not have any label templates in your account yet, click on Create default templates.
3. A list of all created templates is displayed automatically. These templates can be edited or removed.
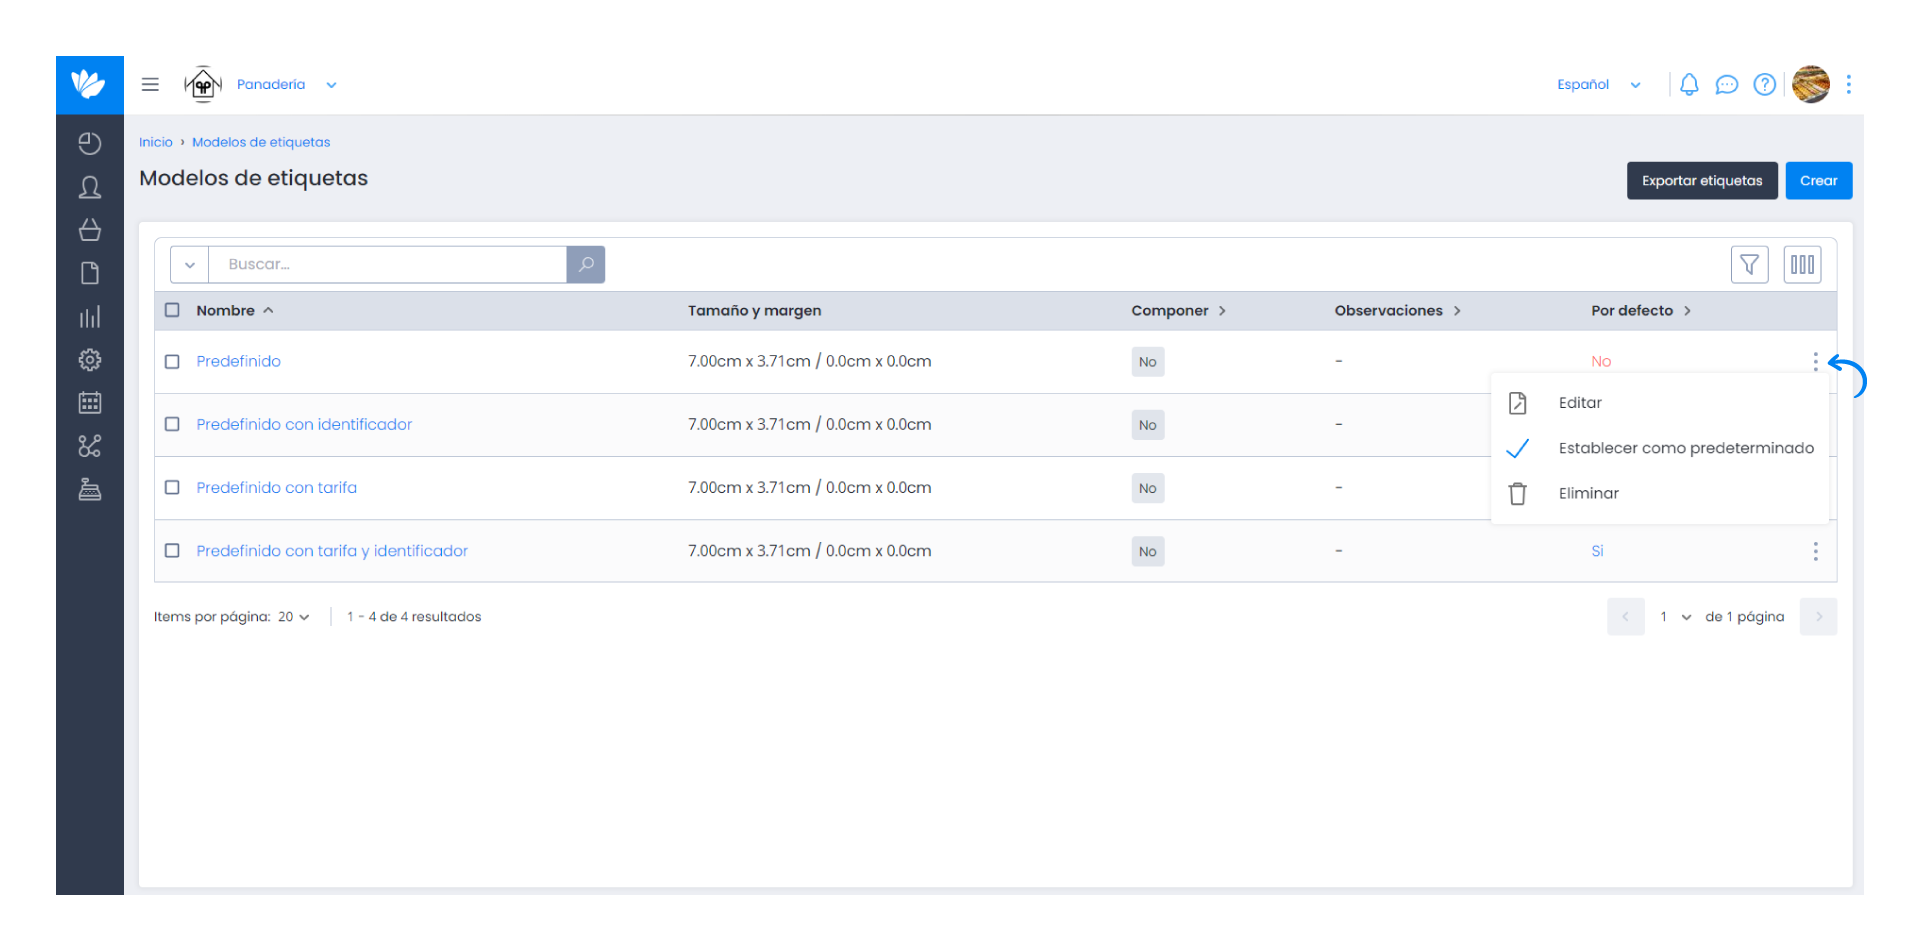
You can set one of these templates as default.
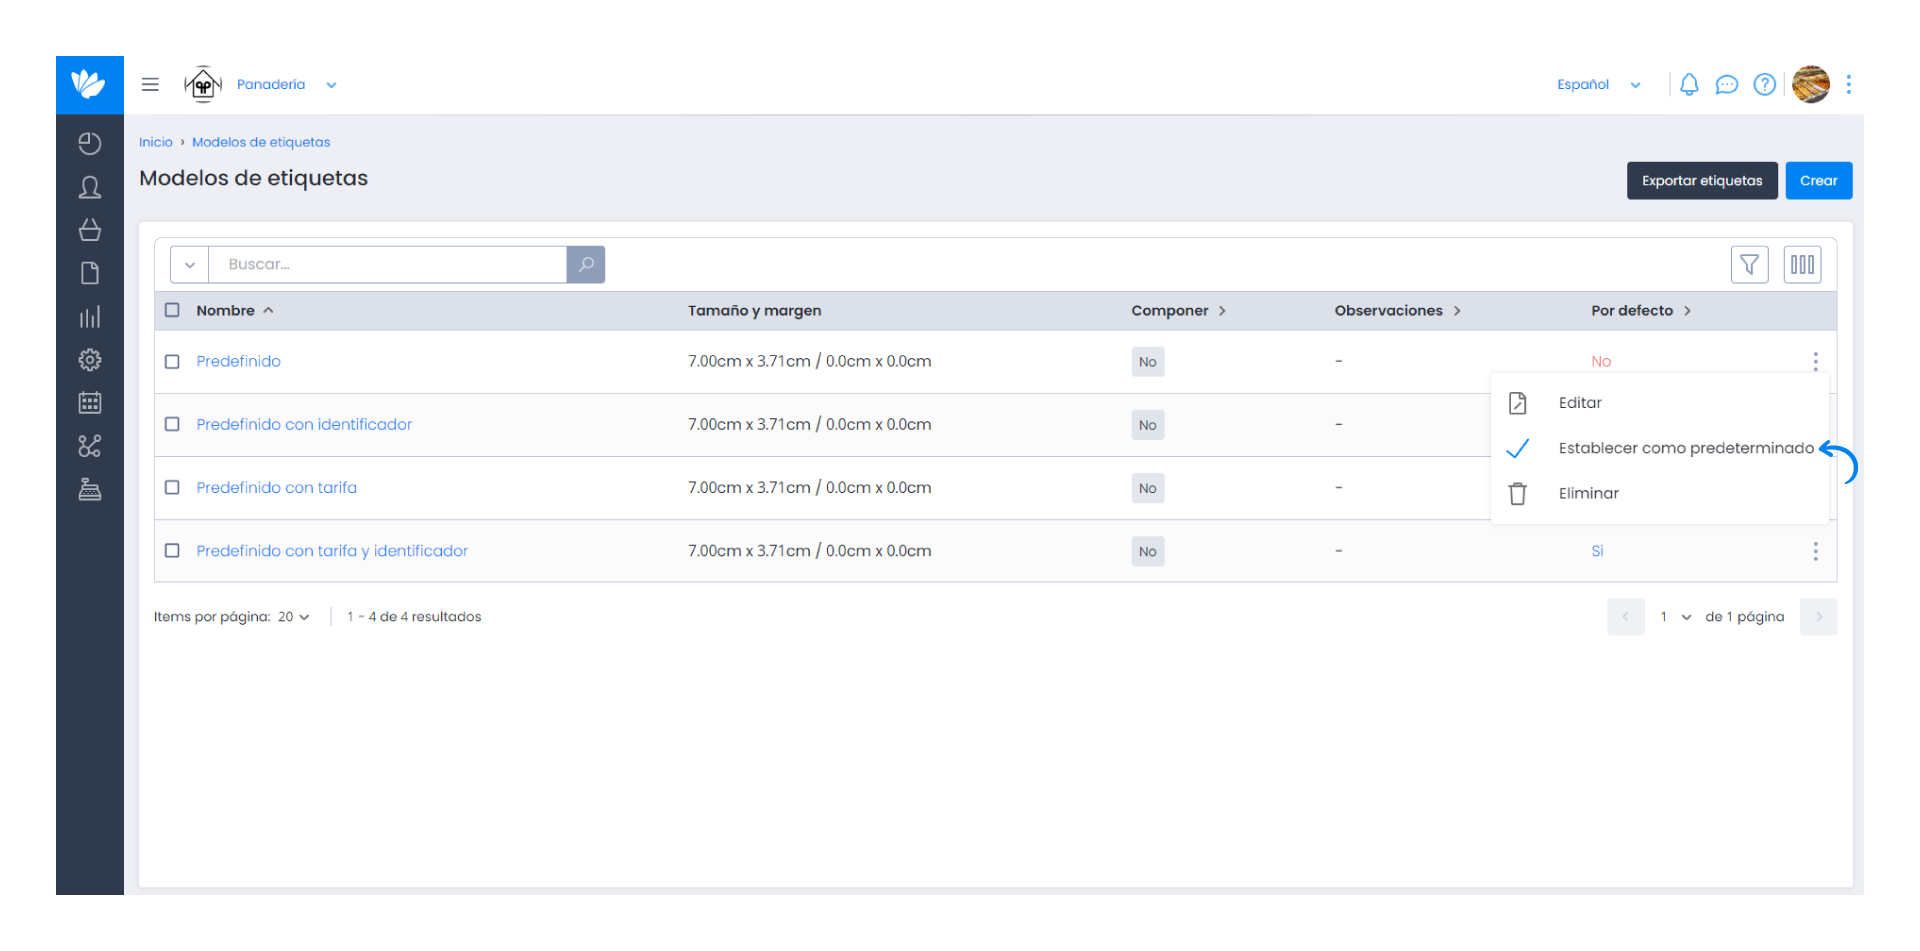
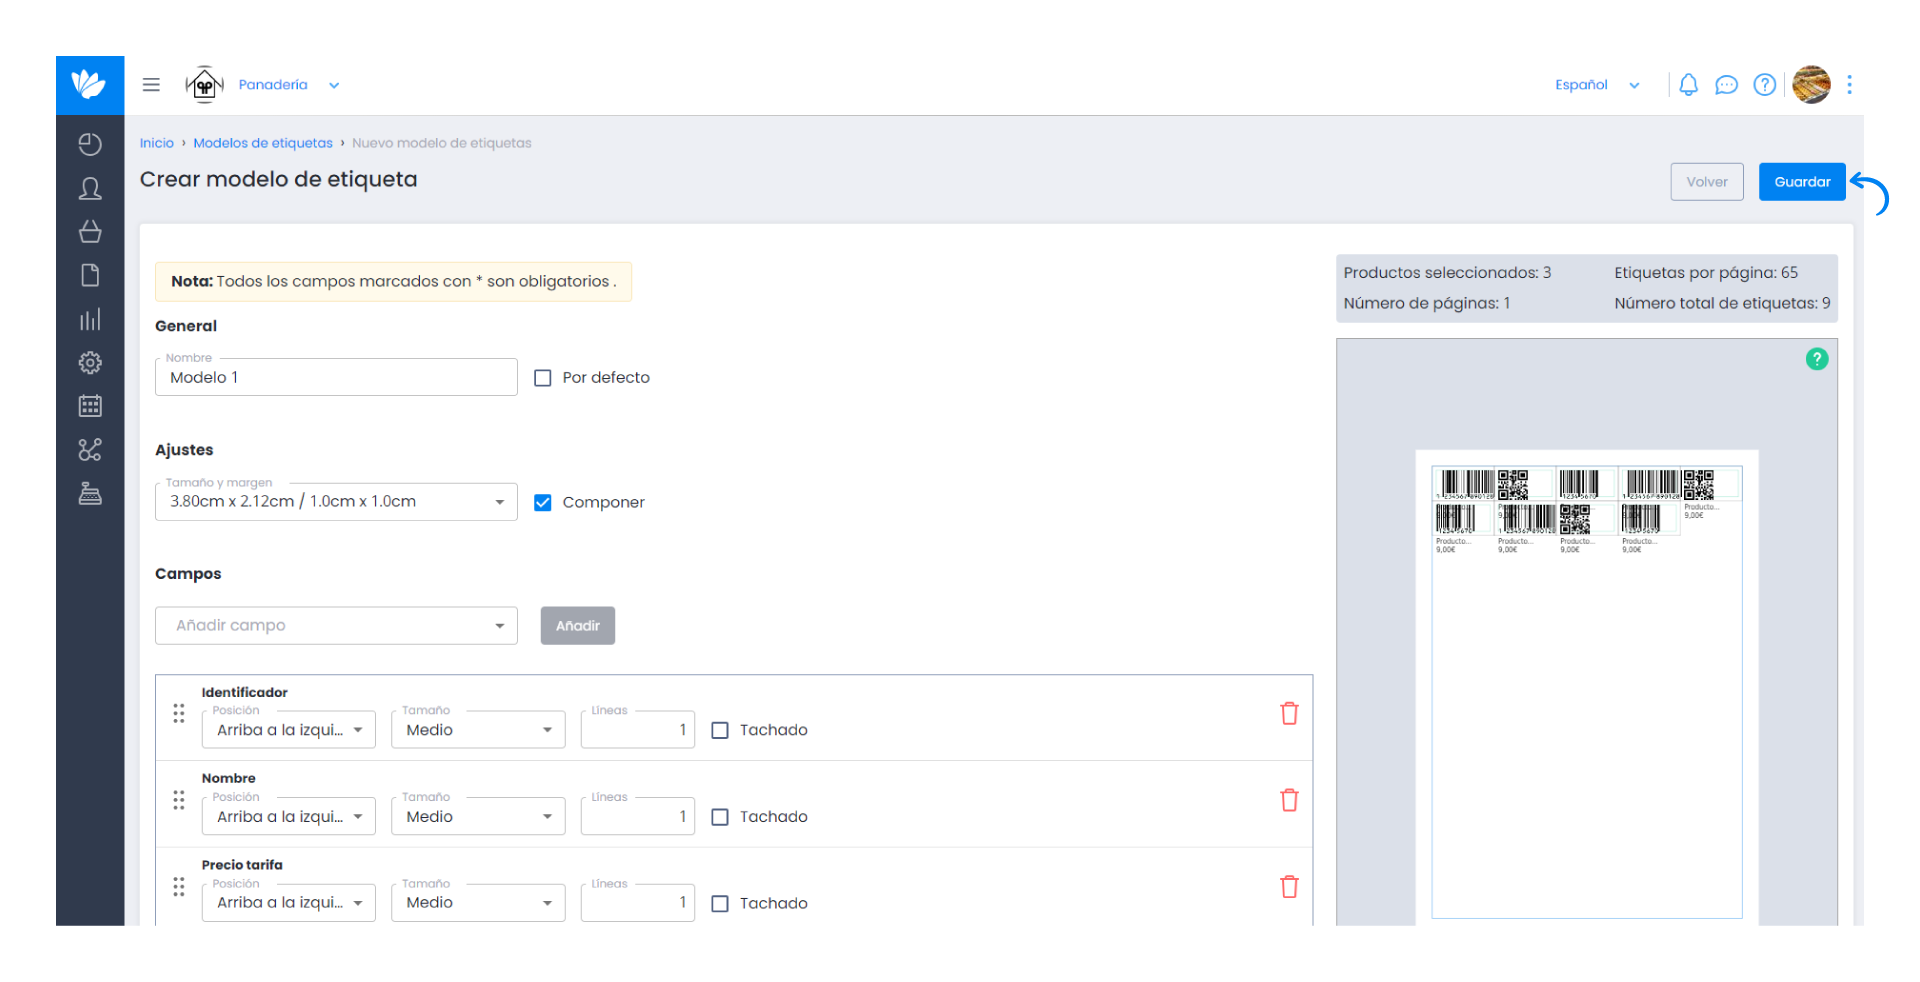
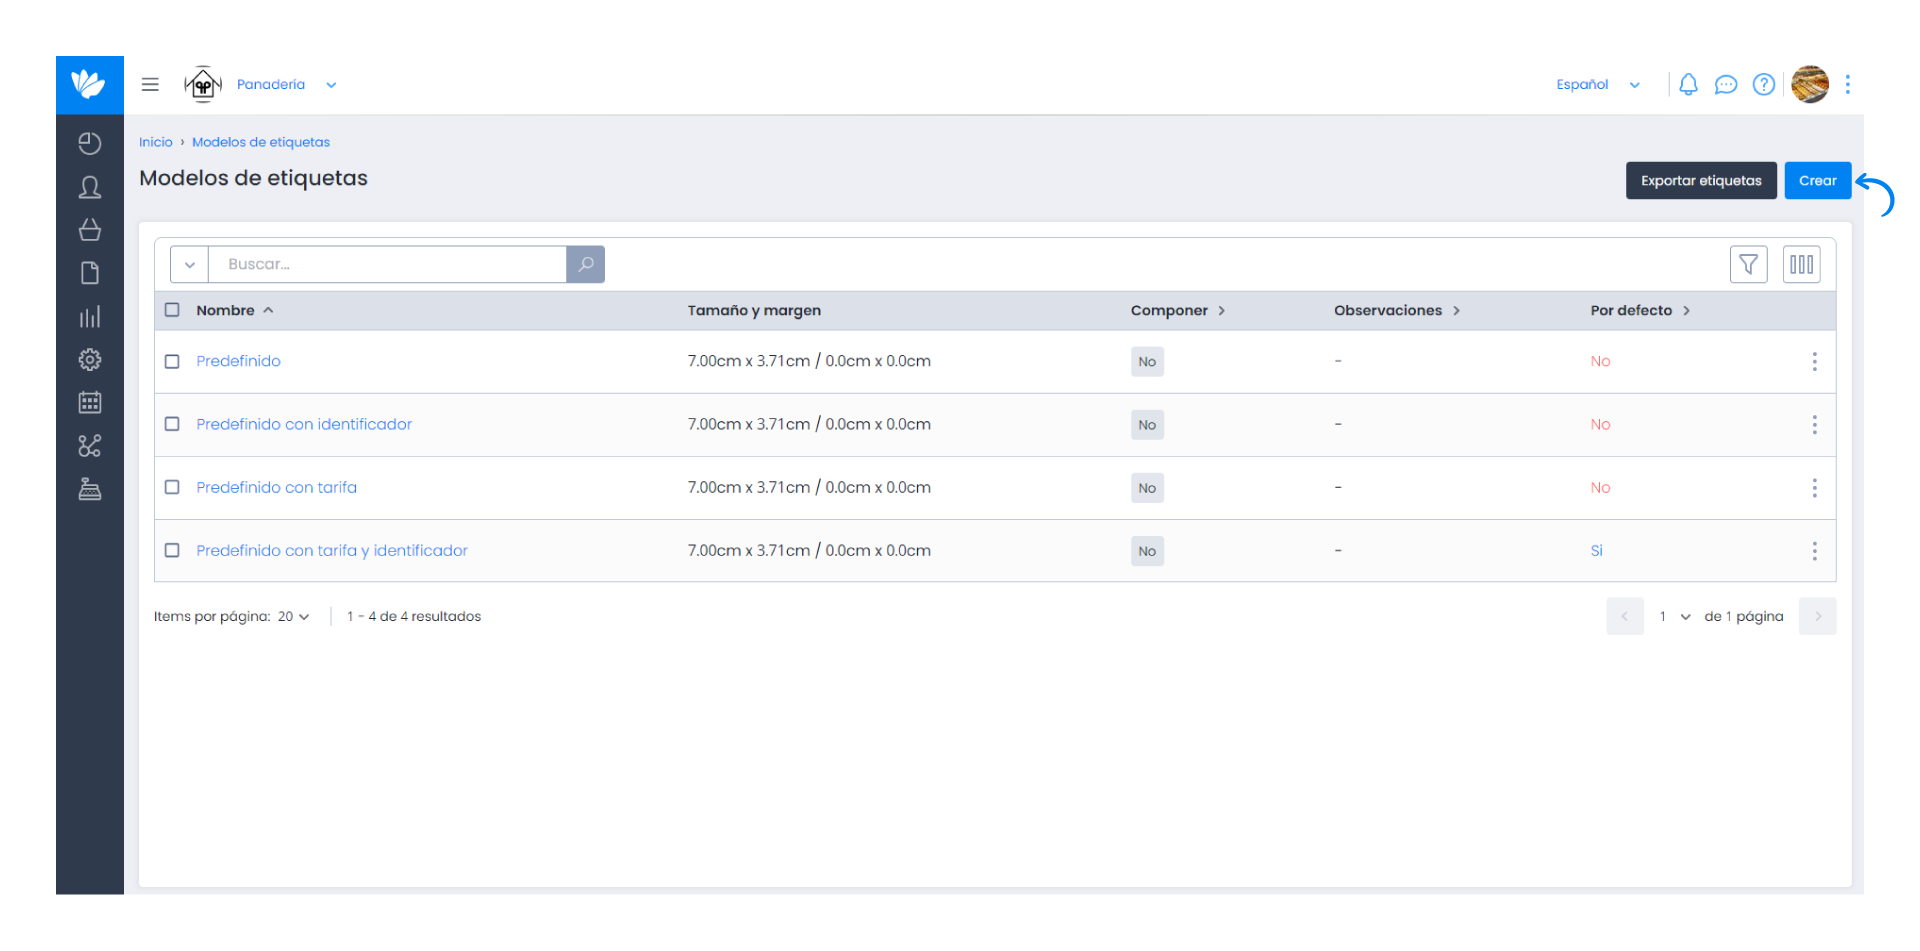
4. In addition, you can create your own models by clicking on the Create button.
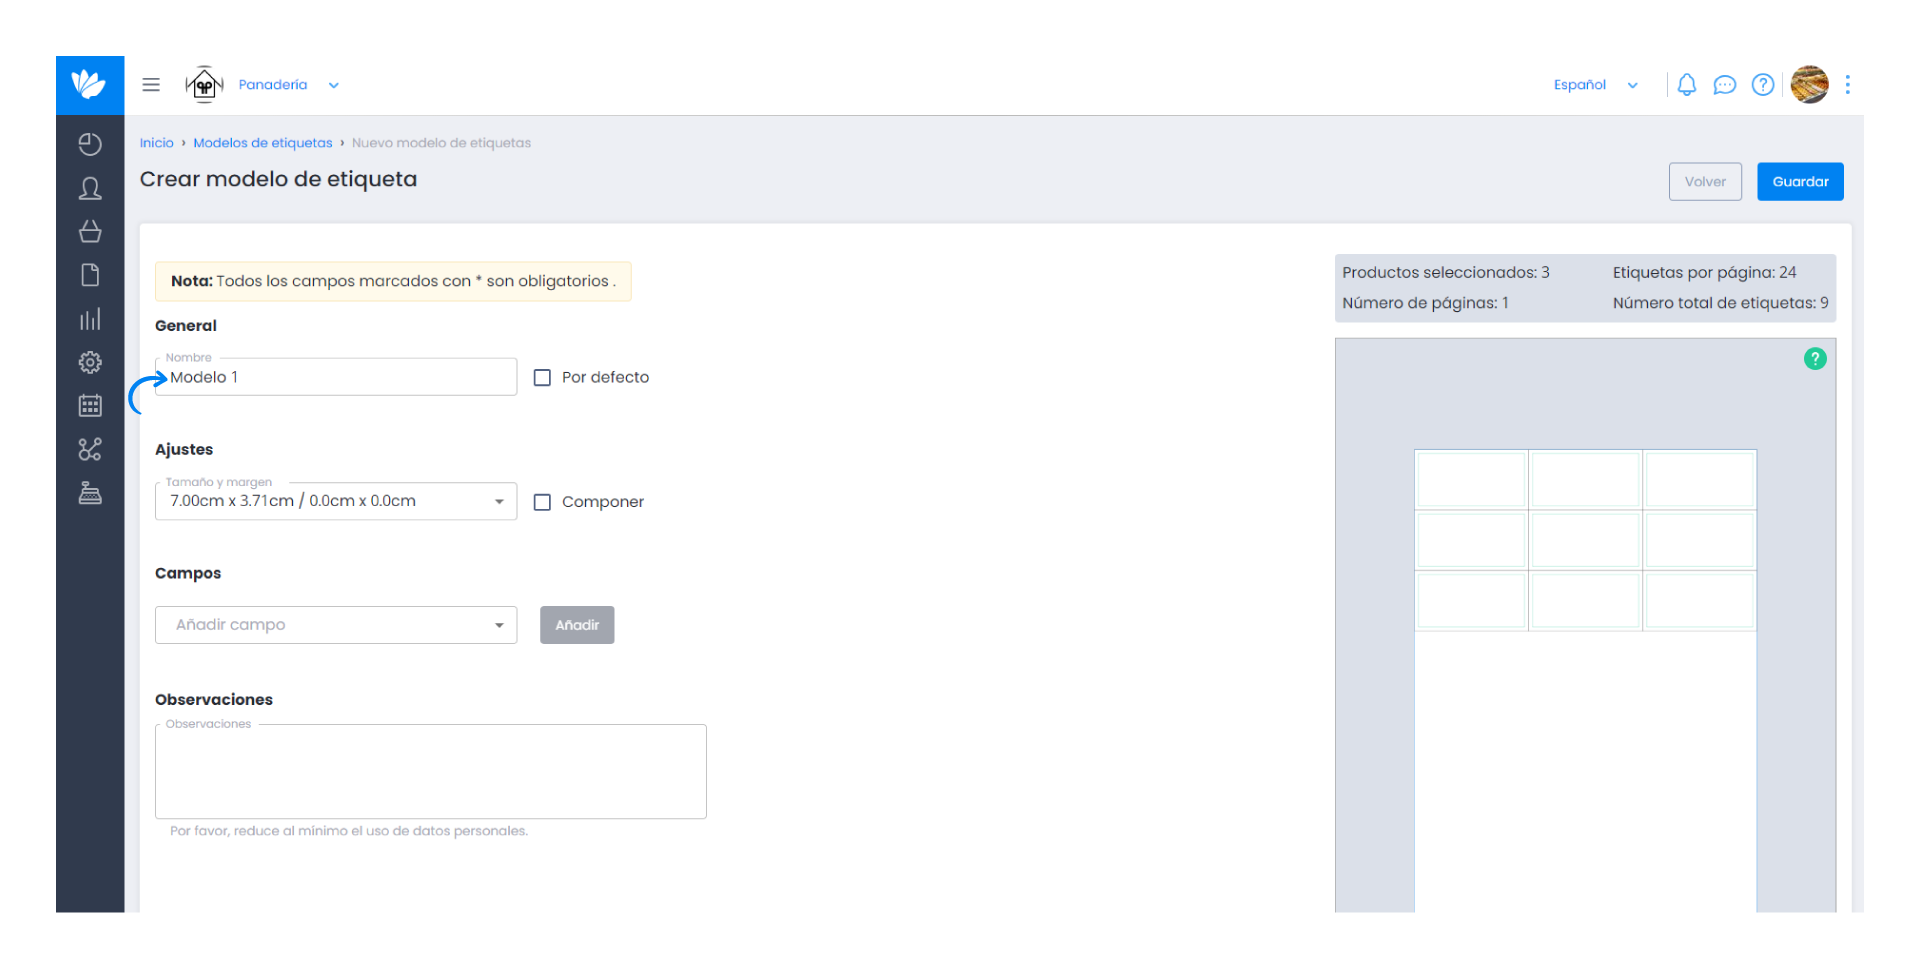
5. Then choose the name you want to give to the new model.
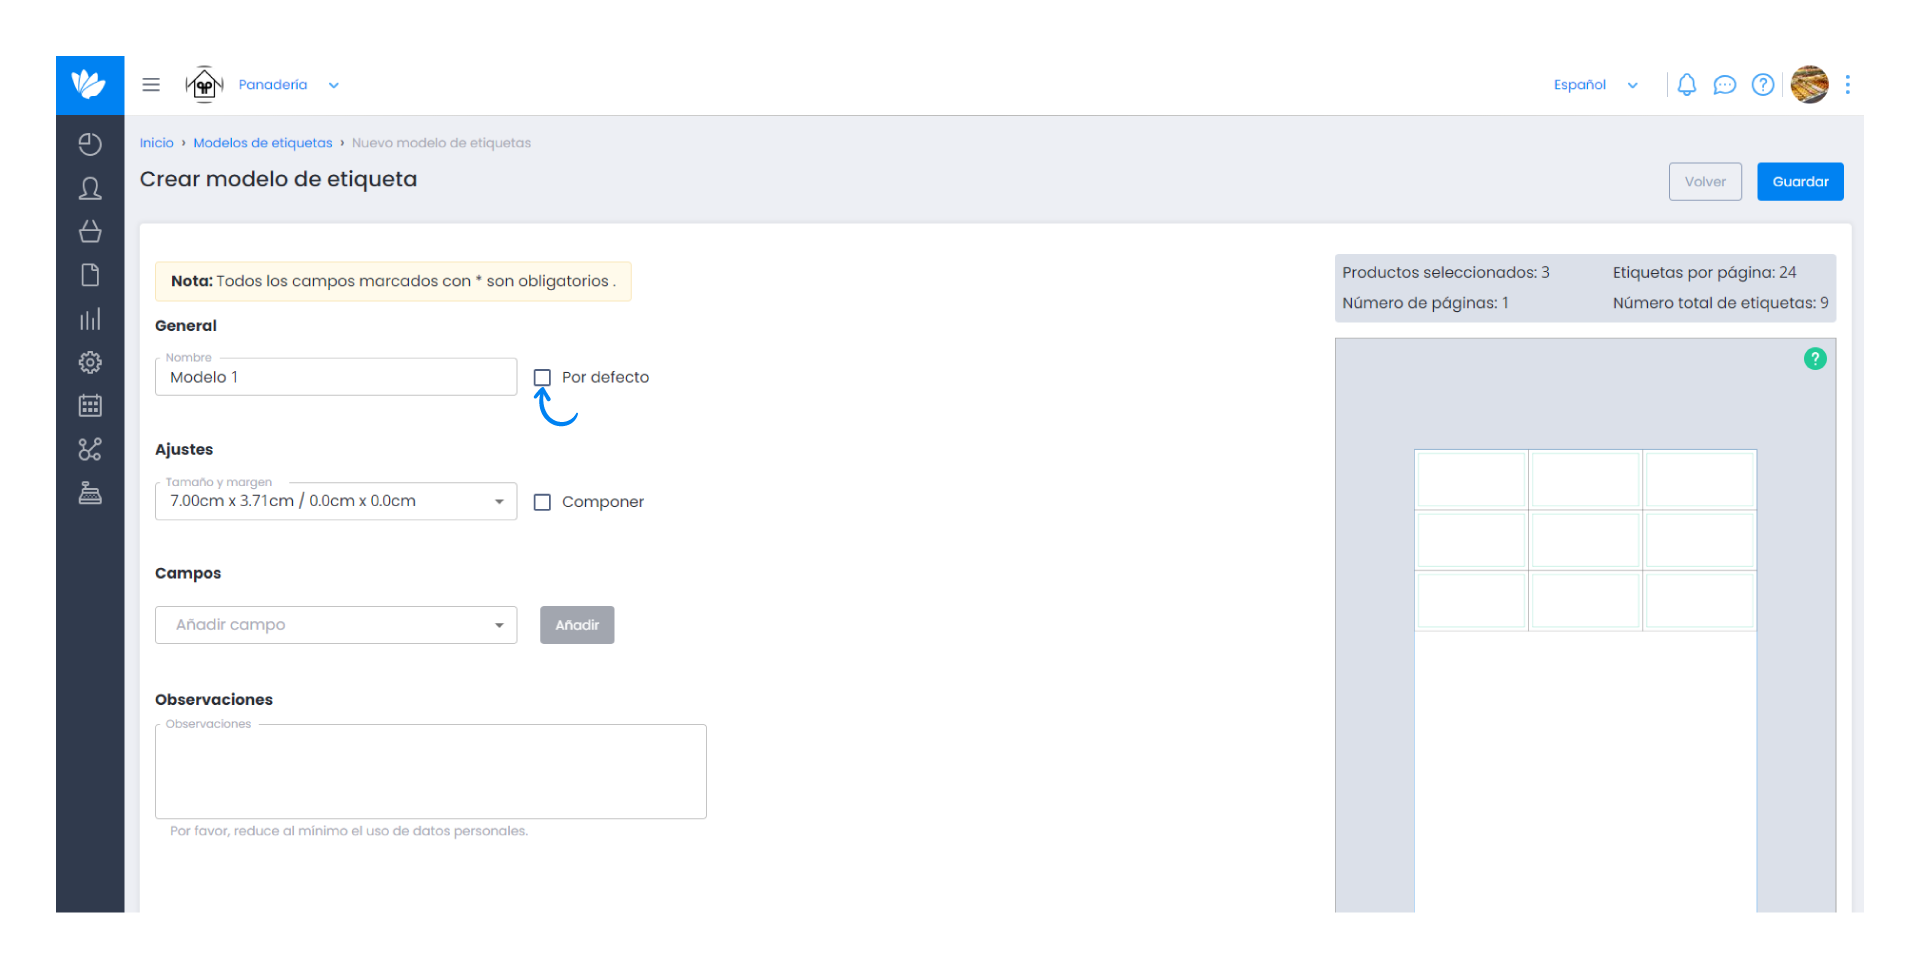
You can select this model as the default model by ticking the checkbox.
6. Select the size and margins of the new template.
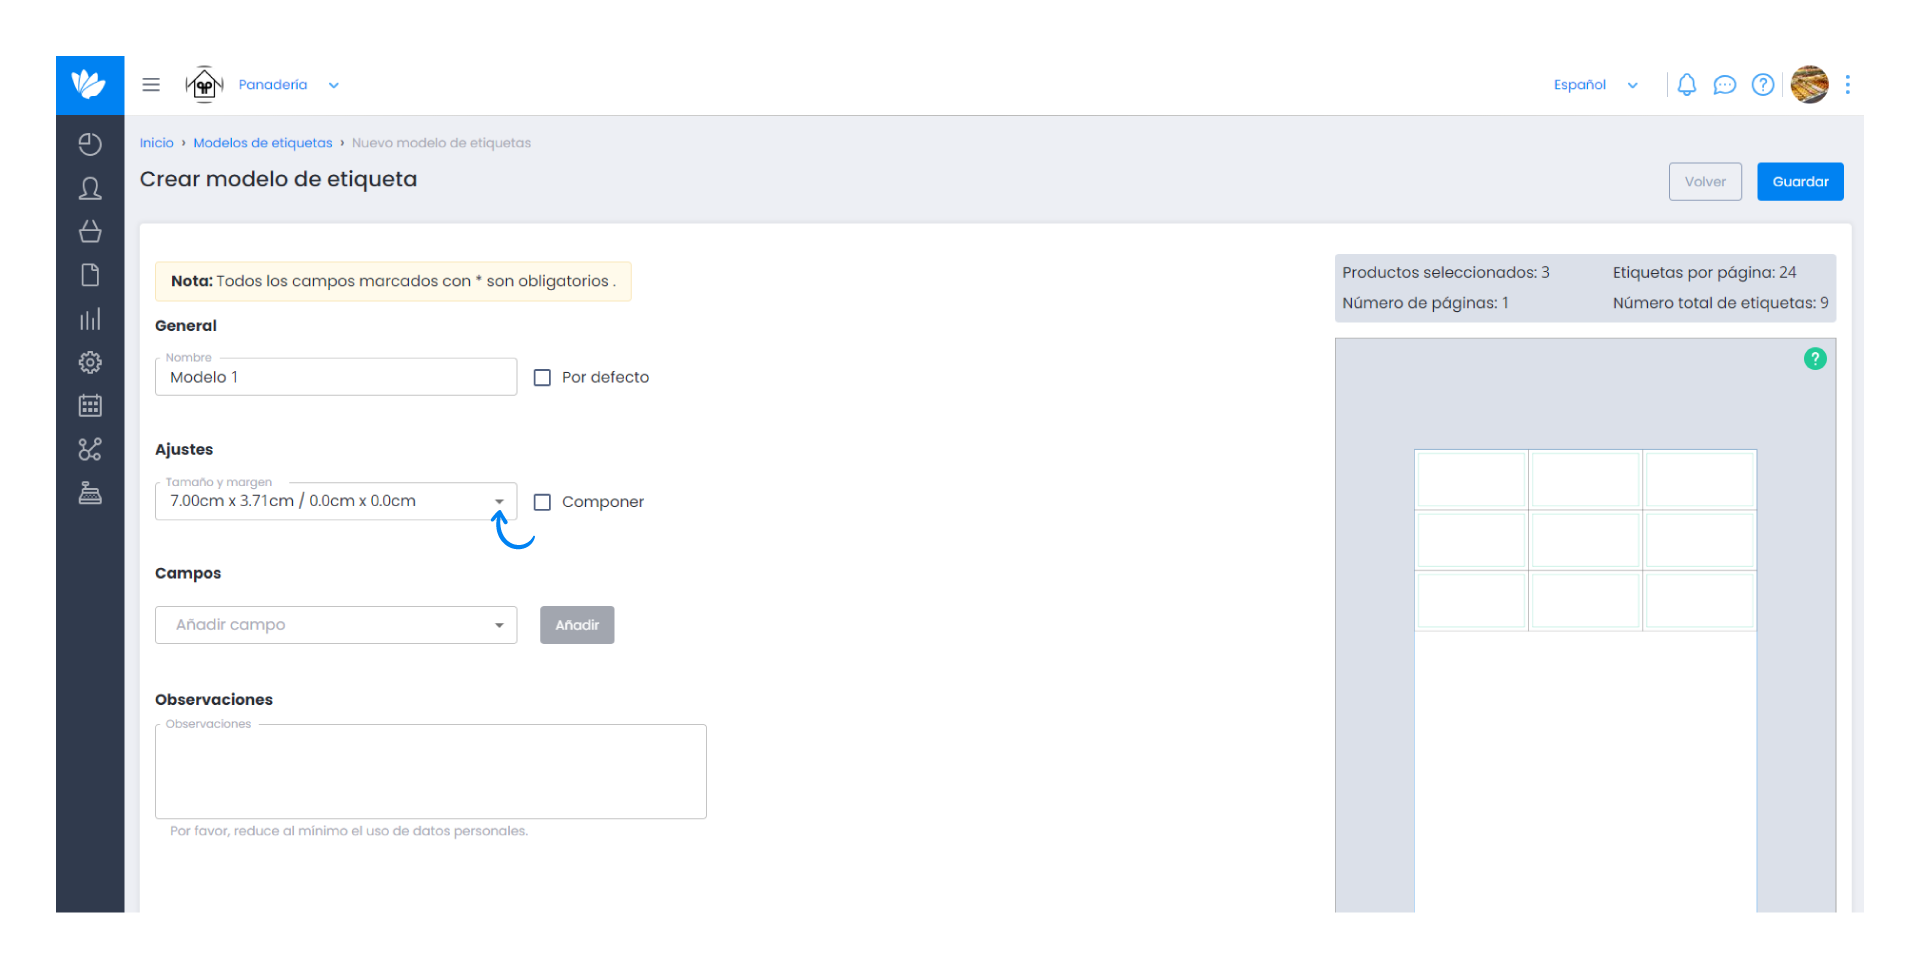
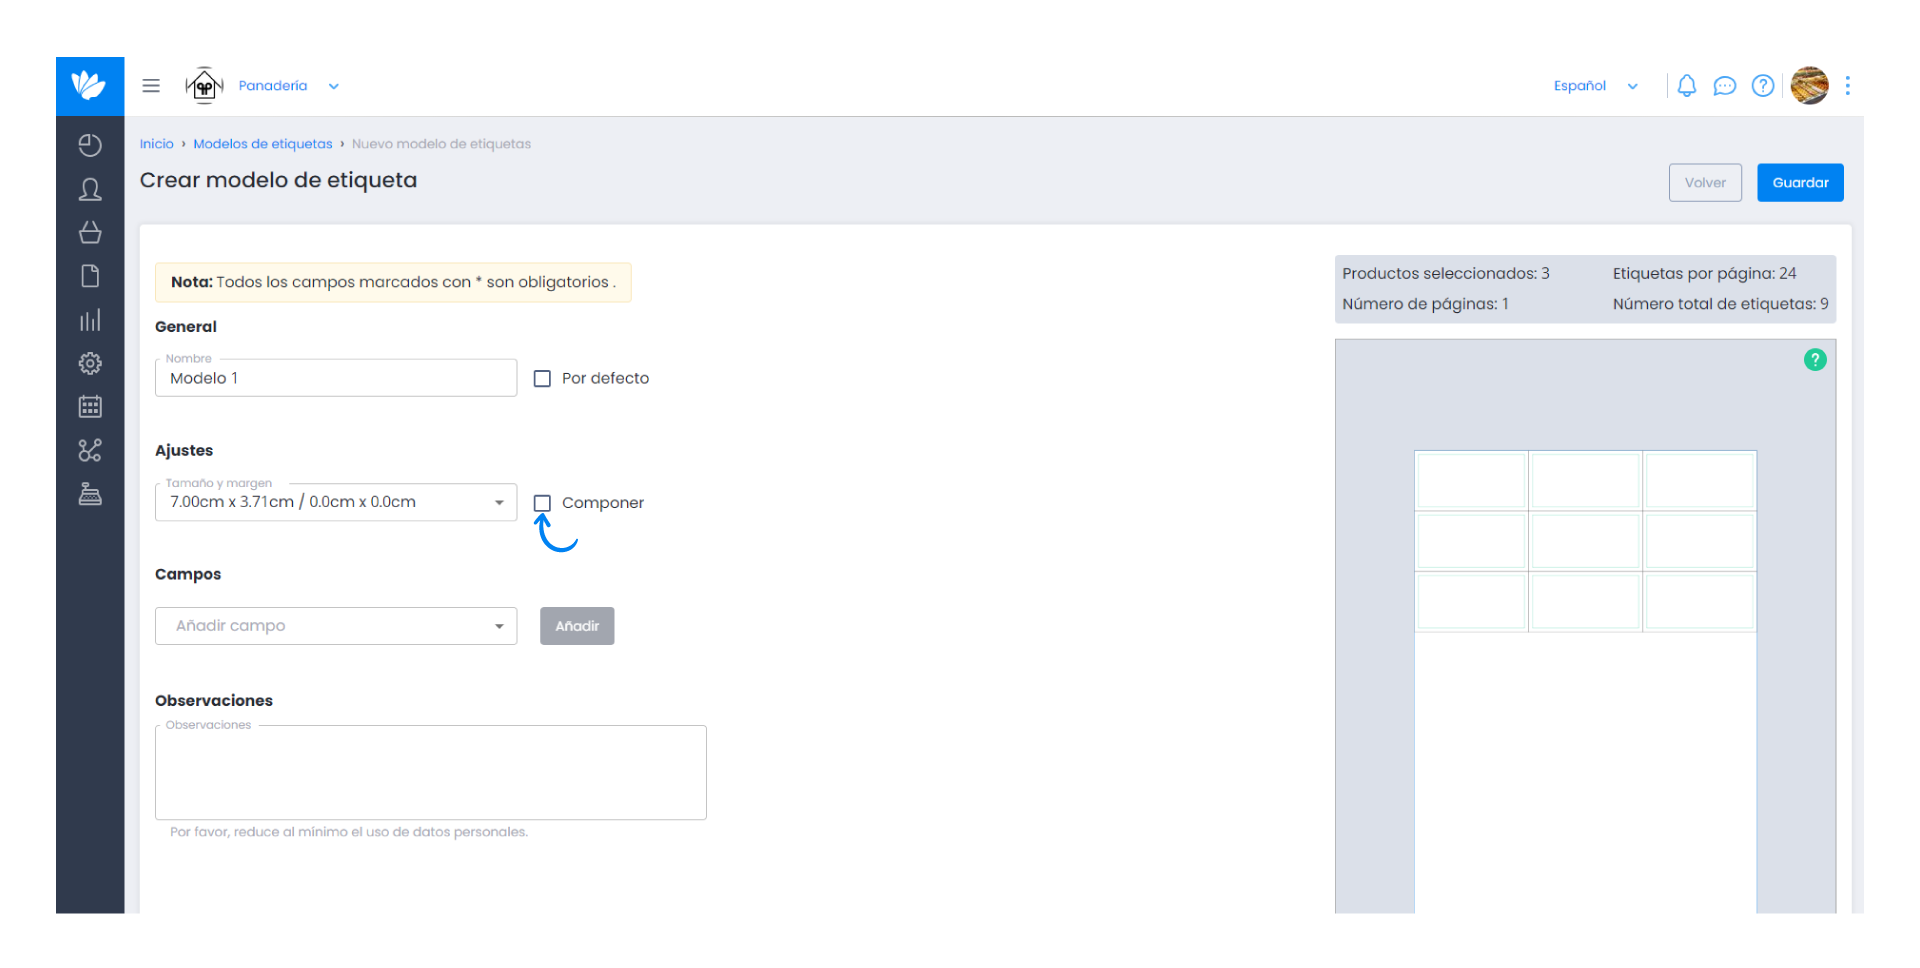
If you want to sort the labels of the same product alternatively, activate the checkbox Collate. If you do not select this option, the products will be printed in groups.
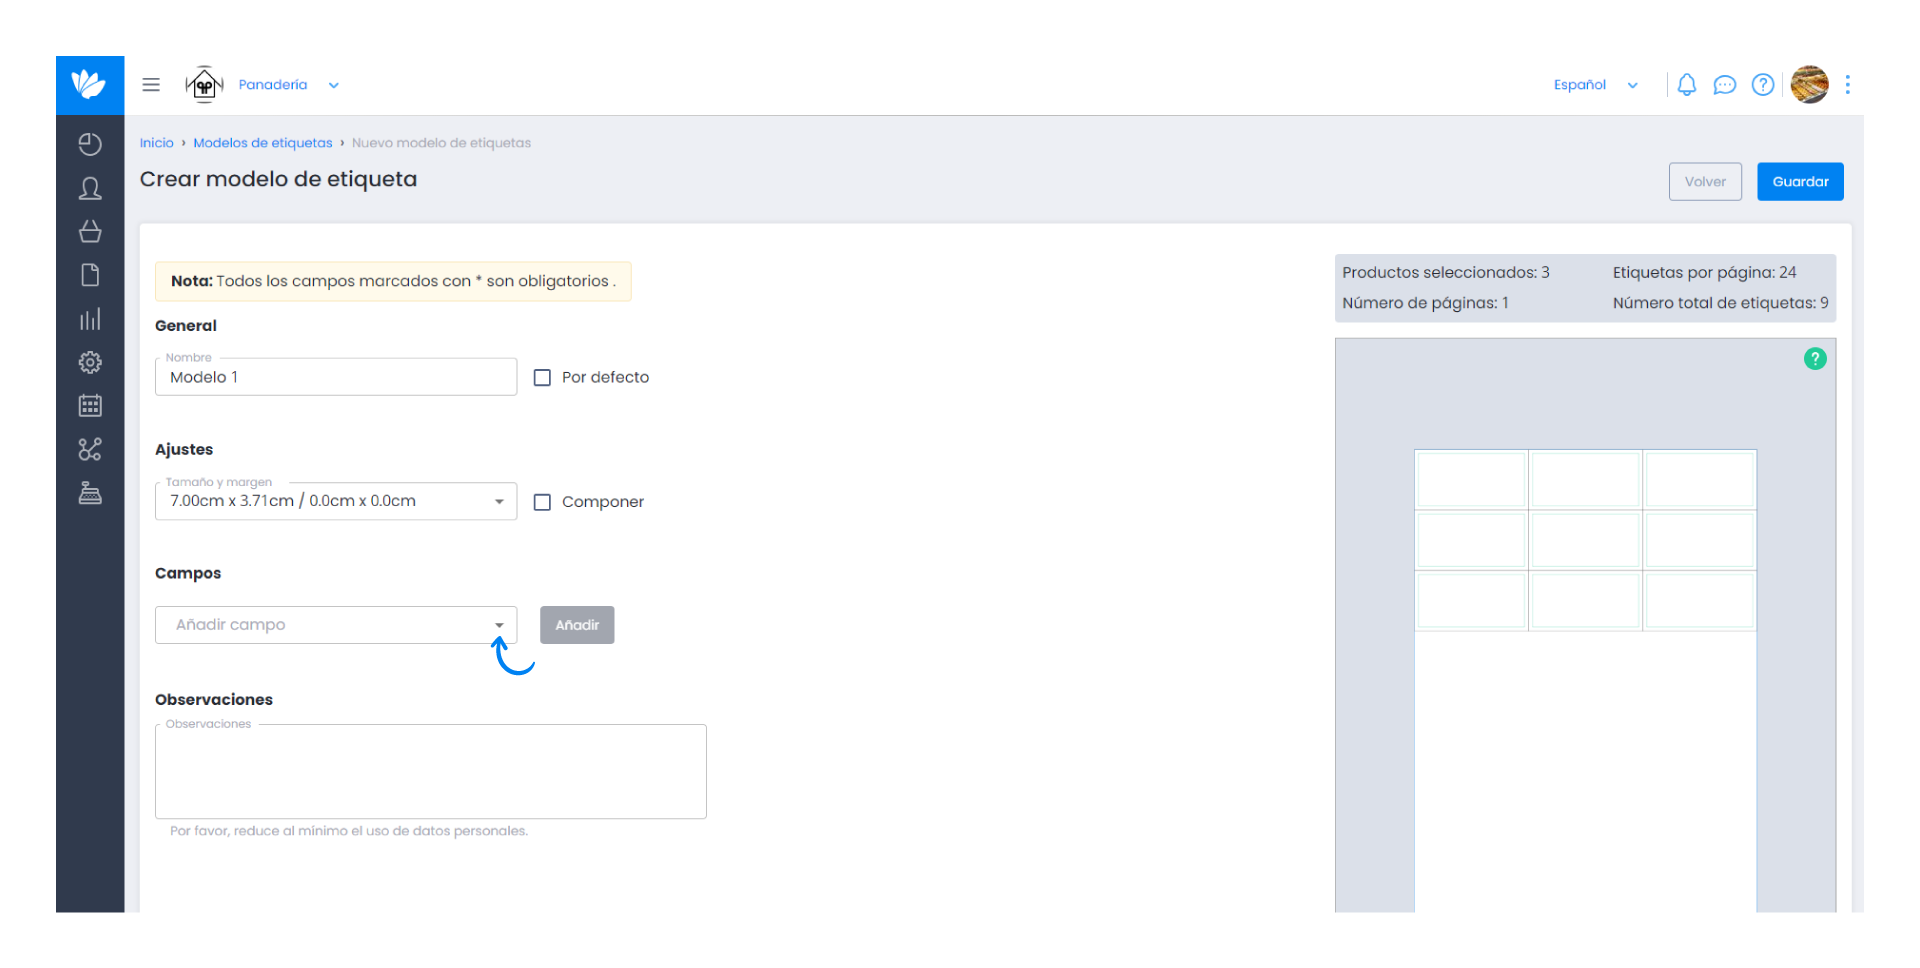
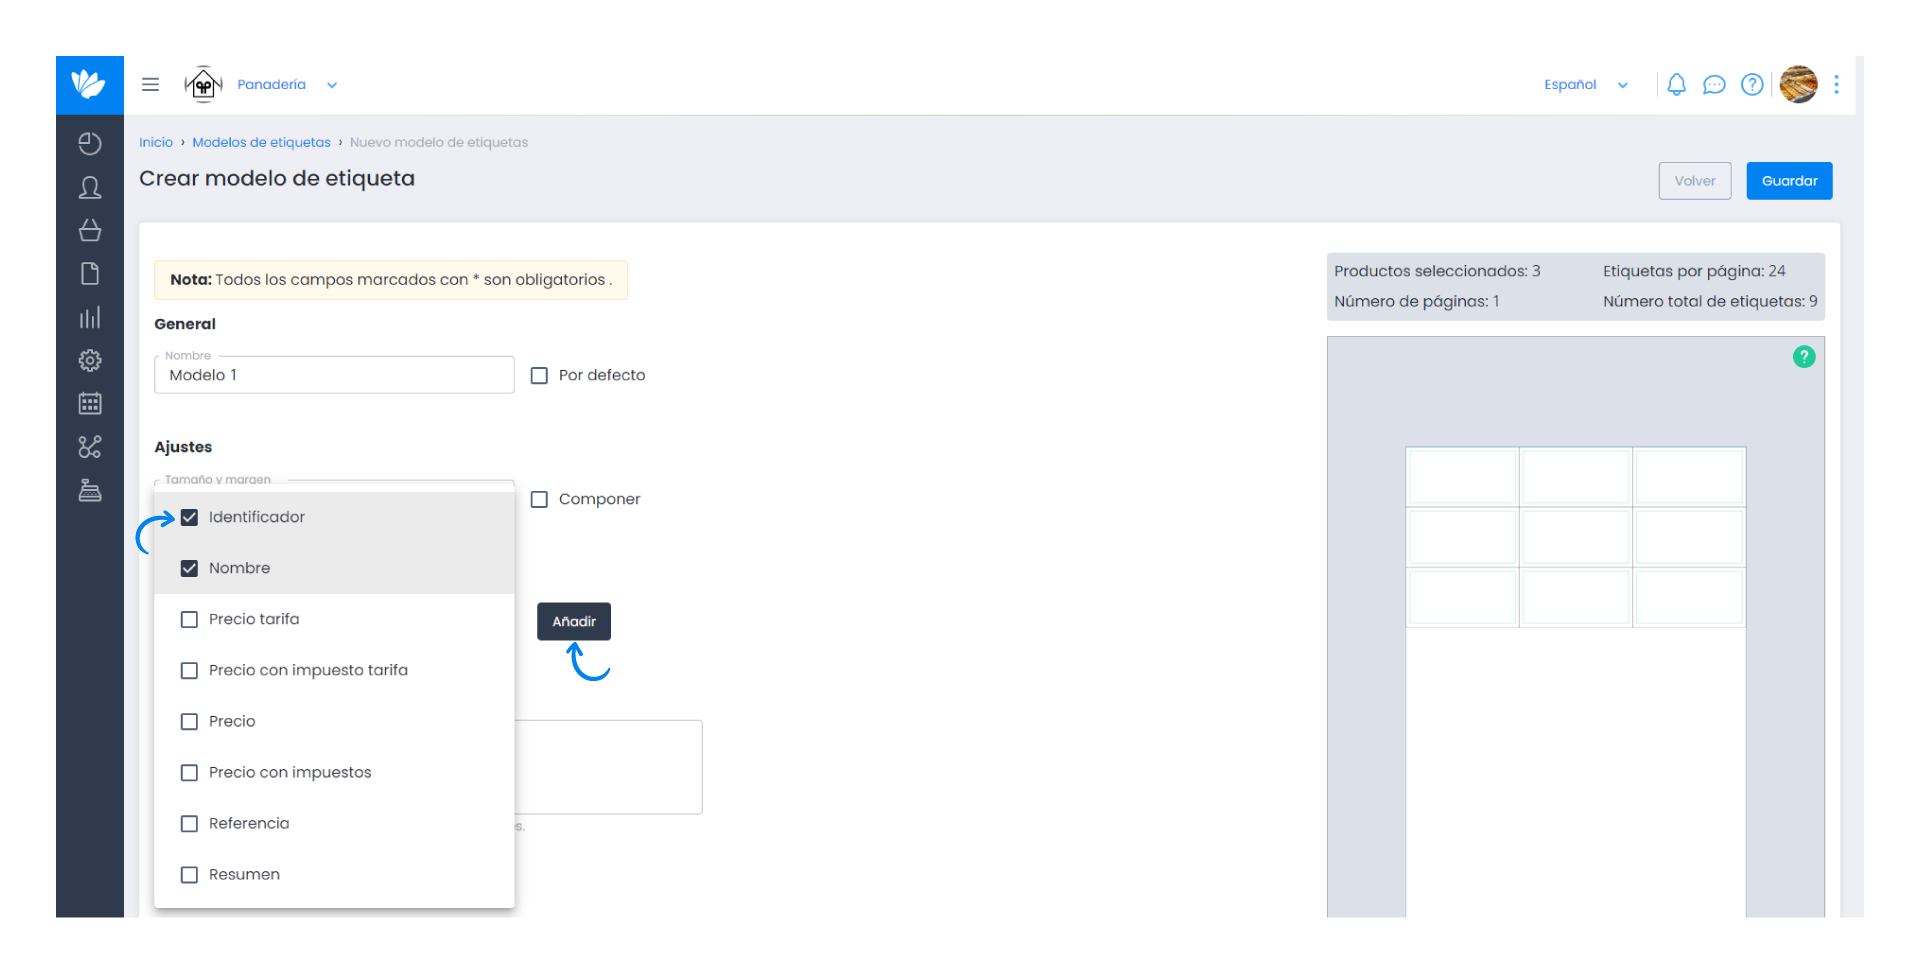
7. You can add the fields you want to be printed on the labels by ticking the desired checkbox.
Click Add and it will be added to the list below.
8. In this list you can define the position of each field, the size, the order or the number of lines.
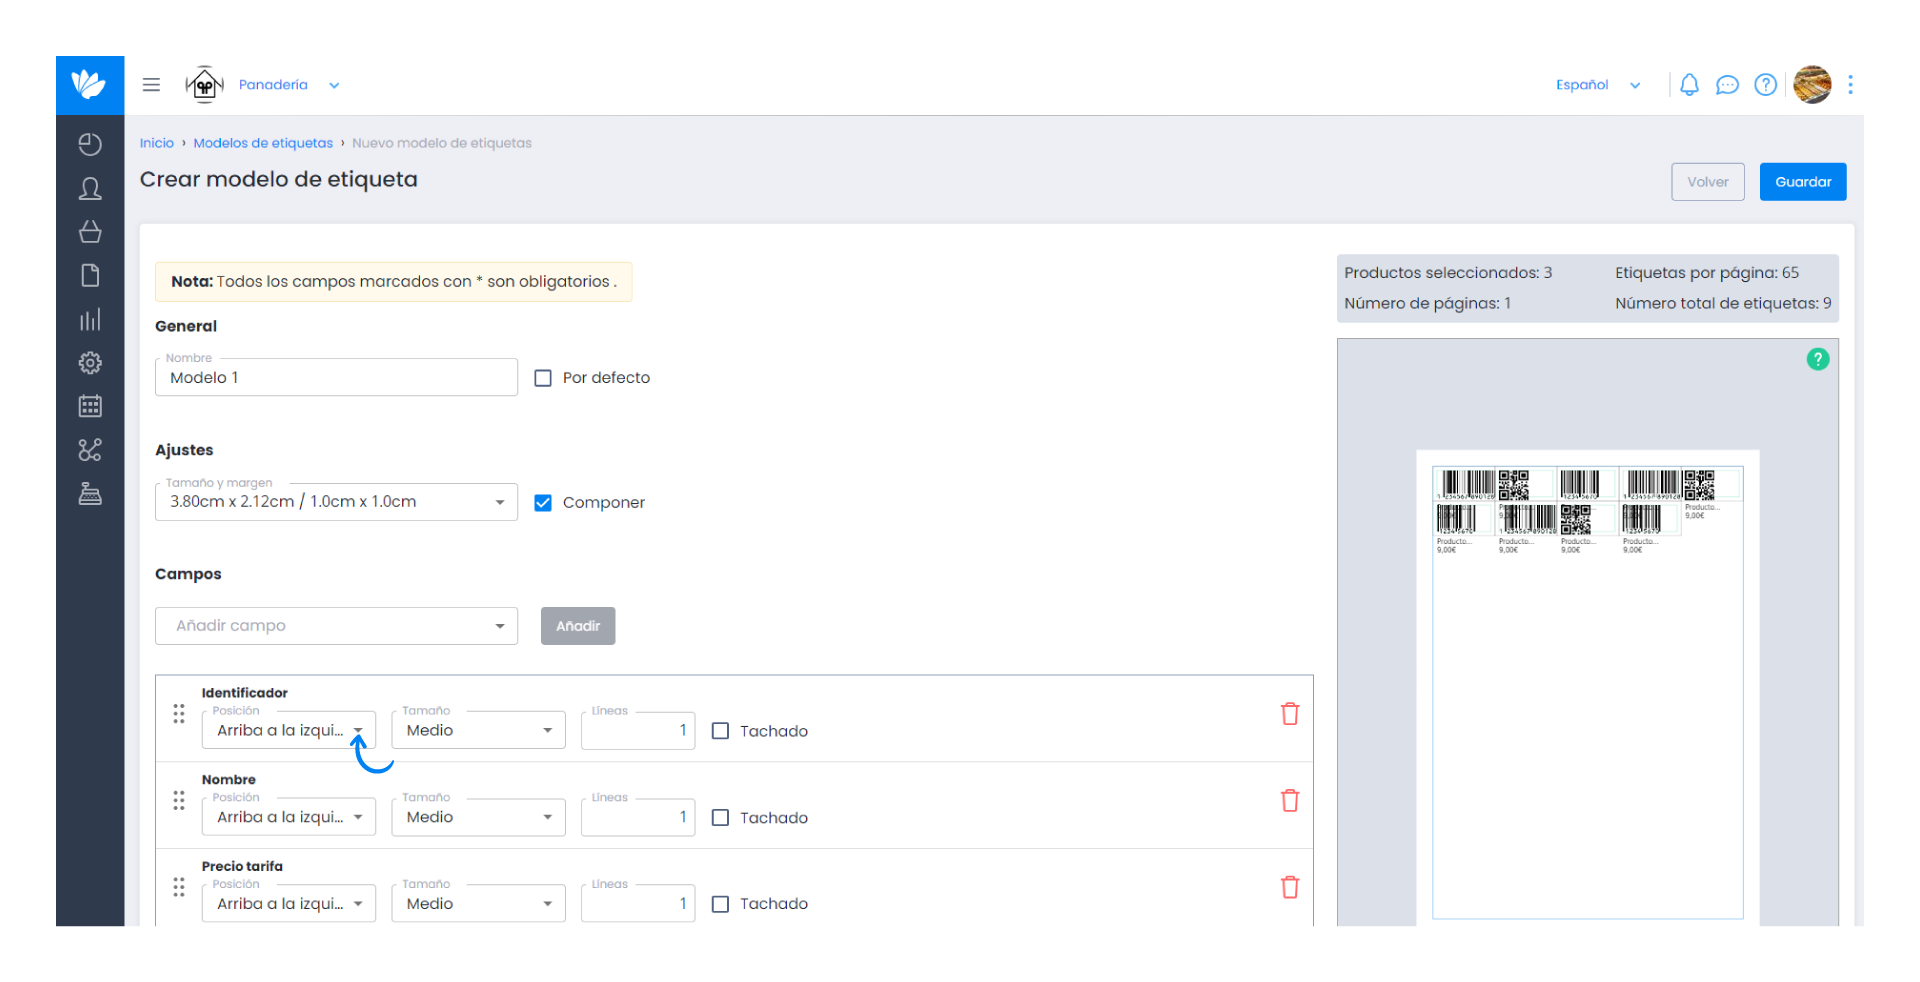
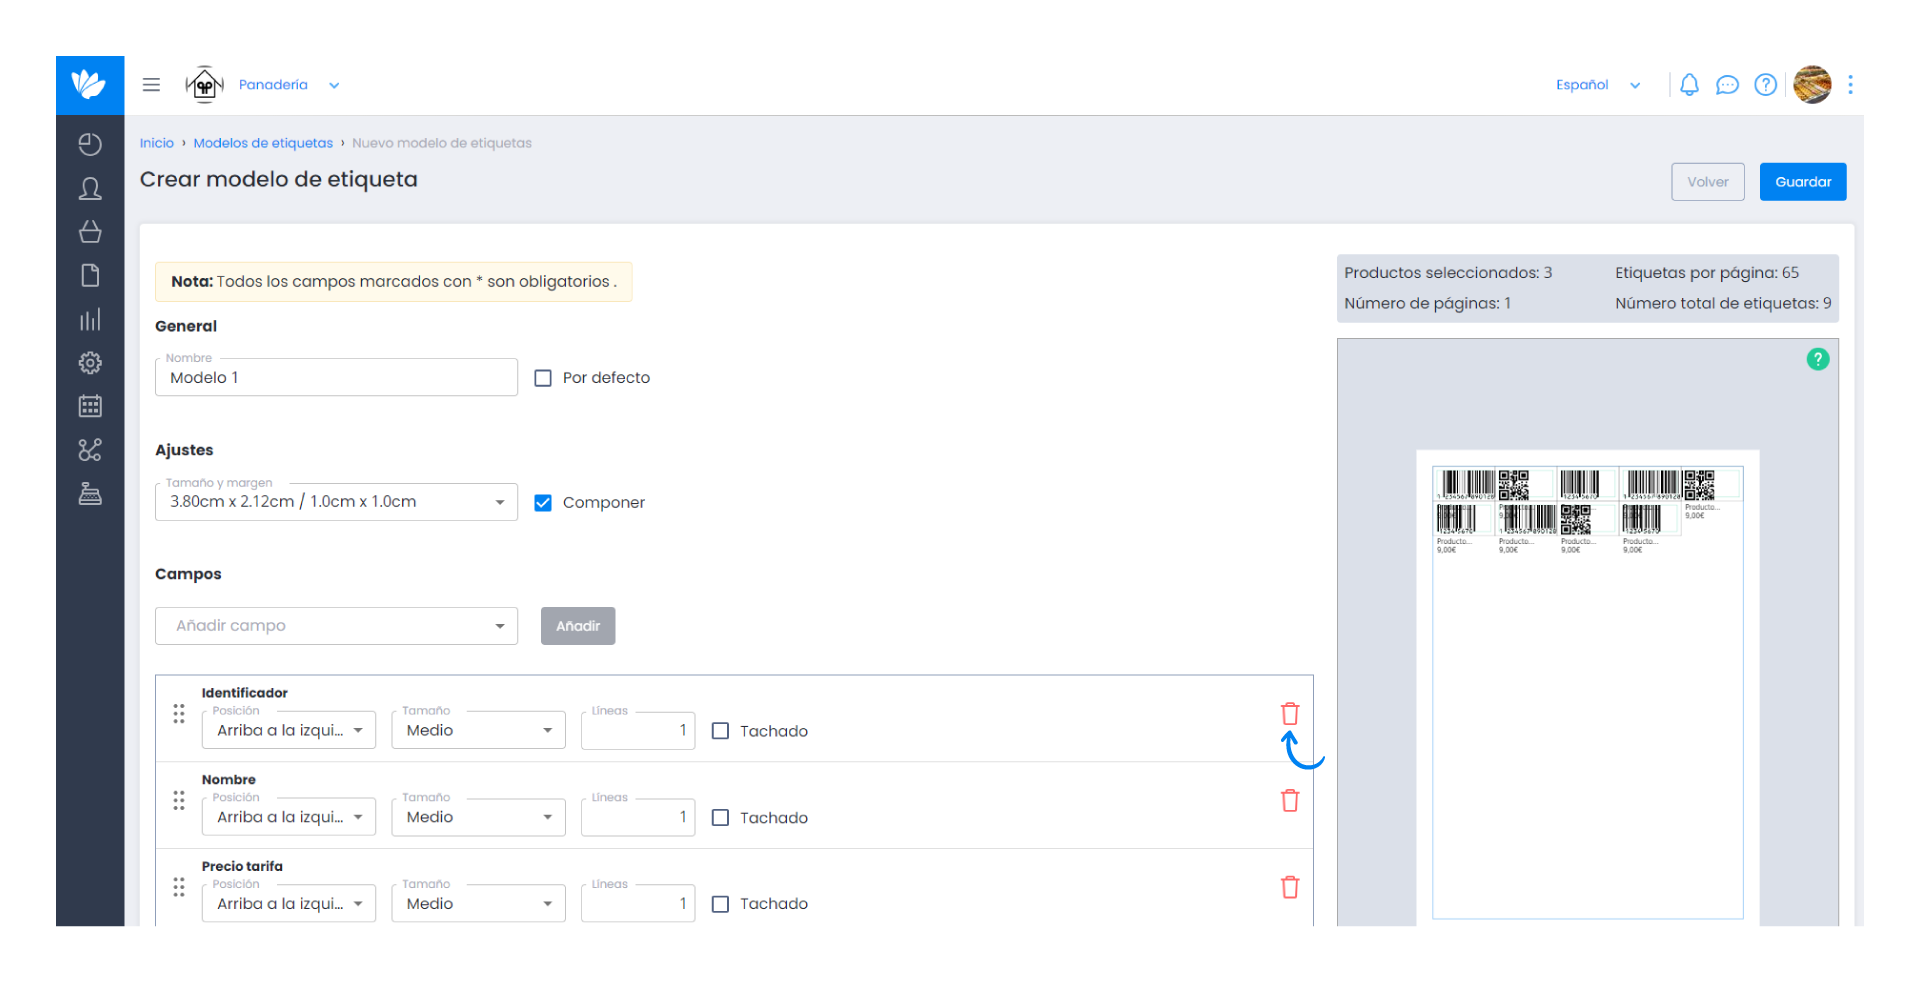
In addition, you can remove fields from the list by clicking on this icon.
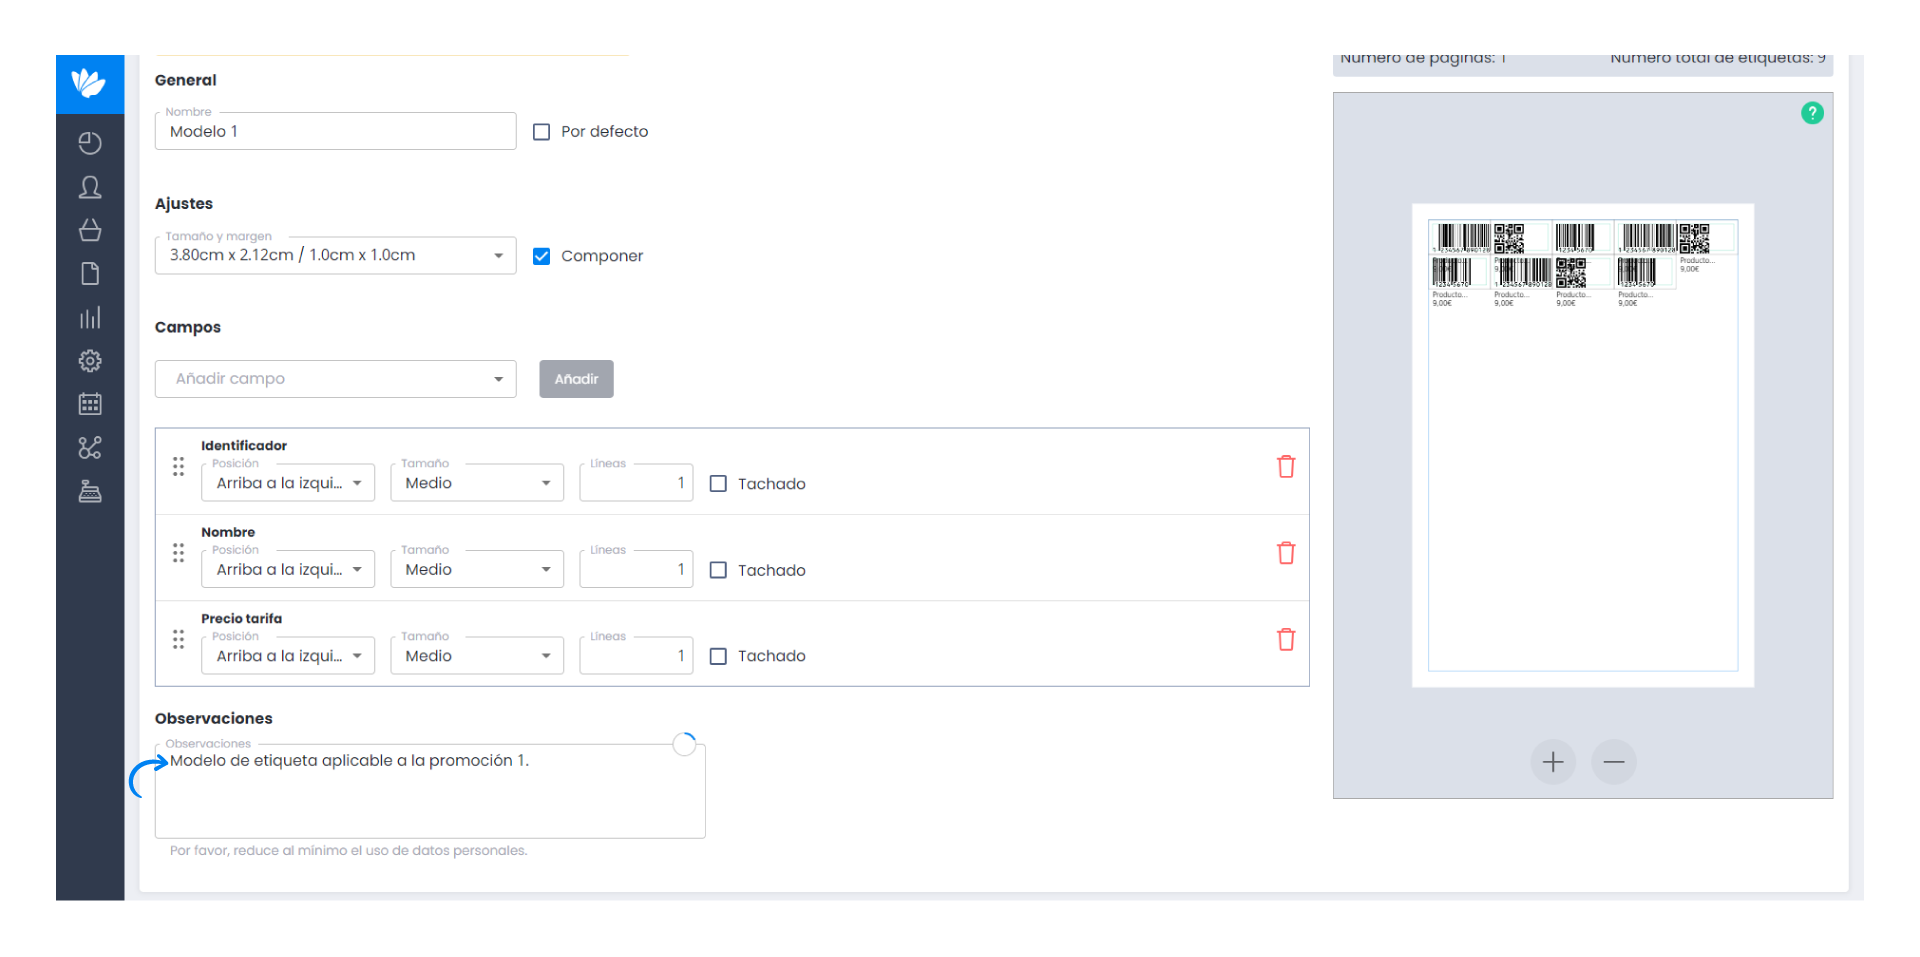
9. In Observations you can optionally add a description or summary of the model.
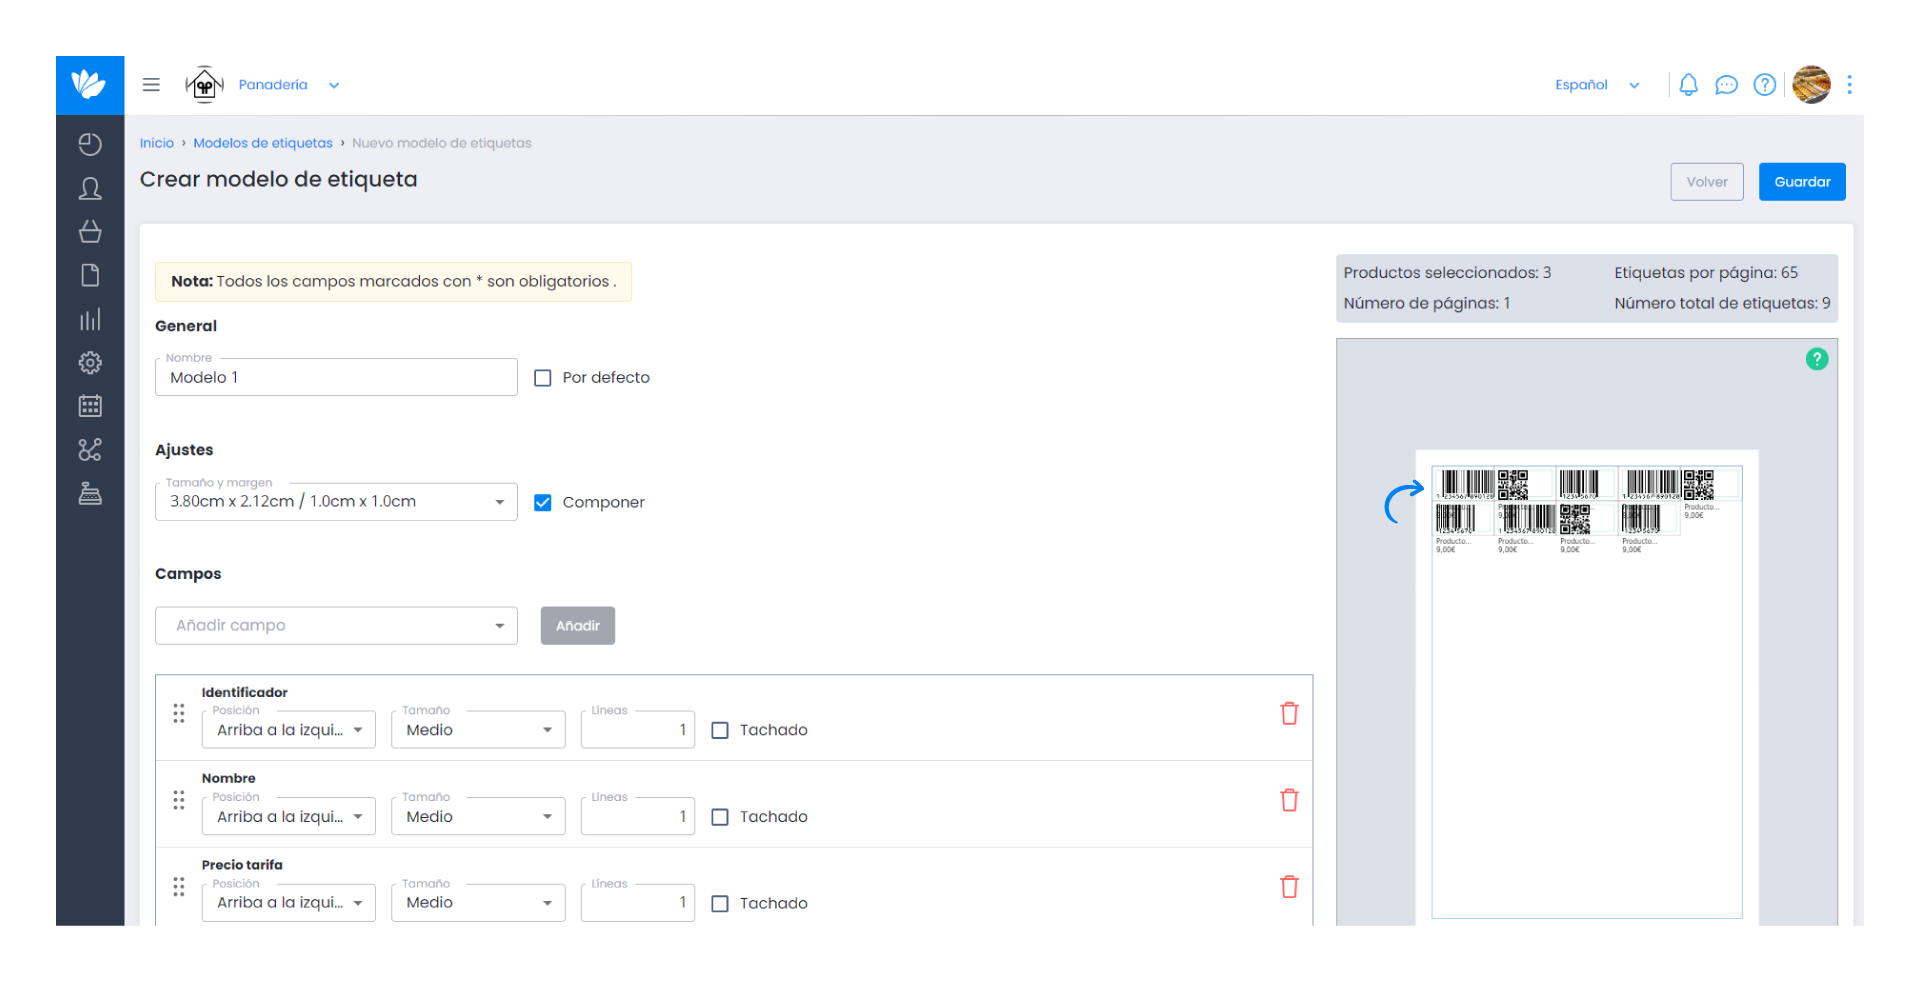
10. On the right side we present an overview of what will be printed and the print preview.
11. Click on Save.
