Guía paso a paso
¡Encuentra todos los procedimientos completamente explicados!
Siéntete siempre apoyado, incluso cuando no estás en contacto con nosotros.
Temas relacionados
Ver másProducts & Services
Customer area
How to create a category
In Moloni adding a category is very simple and fast. Having a category makes it easier to organize/organise your articles/items because all must belong to a category.
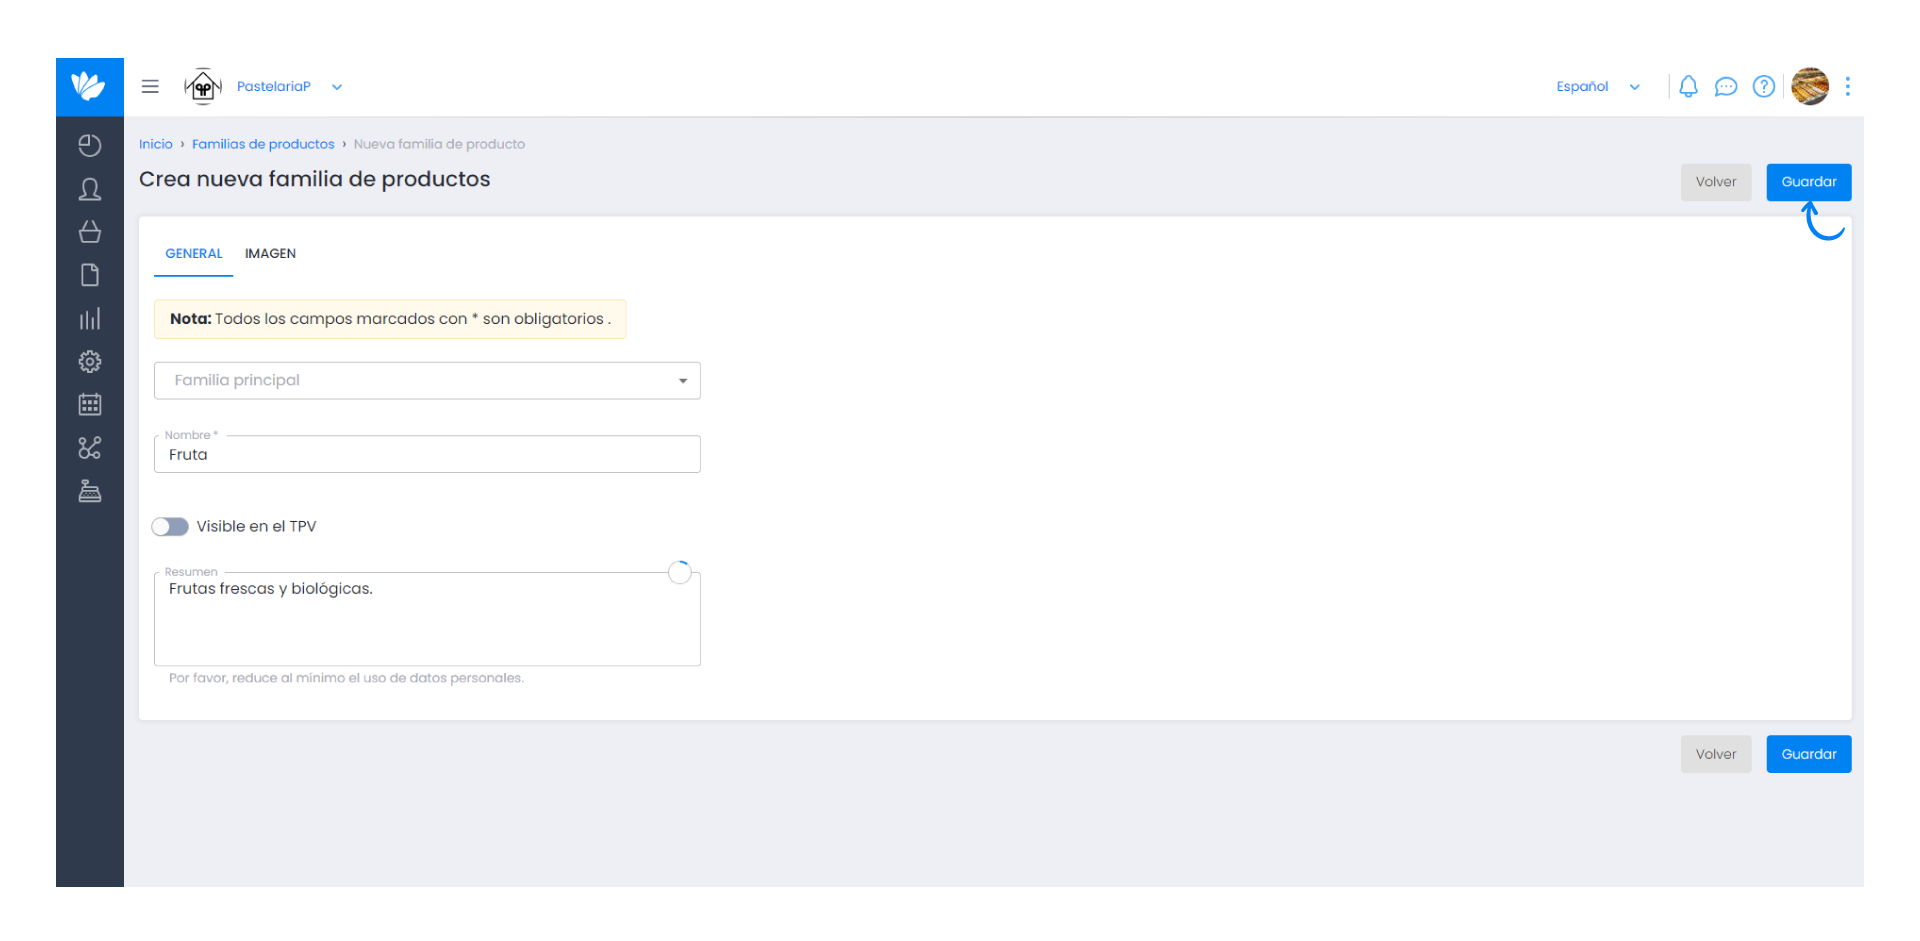
1. To create a category go to Articles & Services - Categories menu and click on Create Category.

2. When you click on Create Category a window with two tabs appears:
- Info;
- Logo.
In the Info tab, fill in the desired information. If you want this category to be inside a subcategory, select the option Parent Category that must have been previously created.
Otherwise, you do not need to select a parent category because the category being created will be added as the parent category.

3. Finally just put the name, a short summary about the category, place the category as visible in the POS and you can also set an image for this category.

4. Click Save to add the category.


