
Guía paso a paso
¡Encuentra todos los procedimientos completamente explicados!
Siéntete siempre apoyado, incluso cuando no estás en contacto con nosotros.
Temas relacionados
Ver másUtilities
Customer area
How to import data into Moloni
Moloni allows you to import products and/or services, customers and suppliers The mechanism is very simple and the system will notify you when the document is ready.
To find out more about this functionality, consult this Guide.
The steps below explain in detail this process:
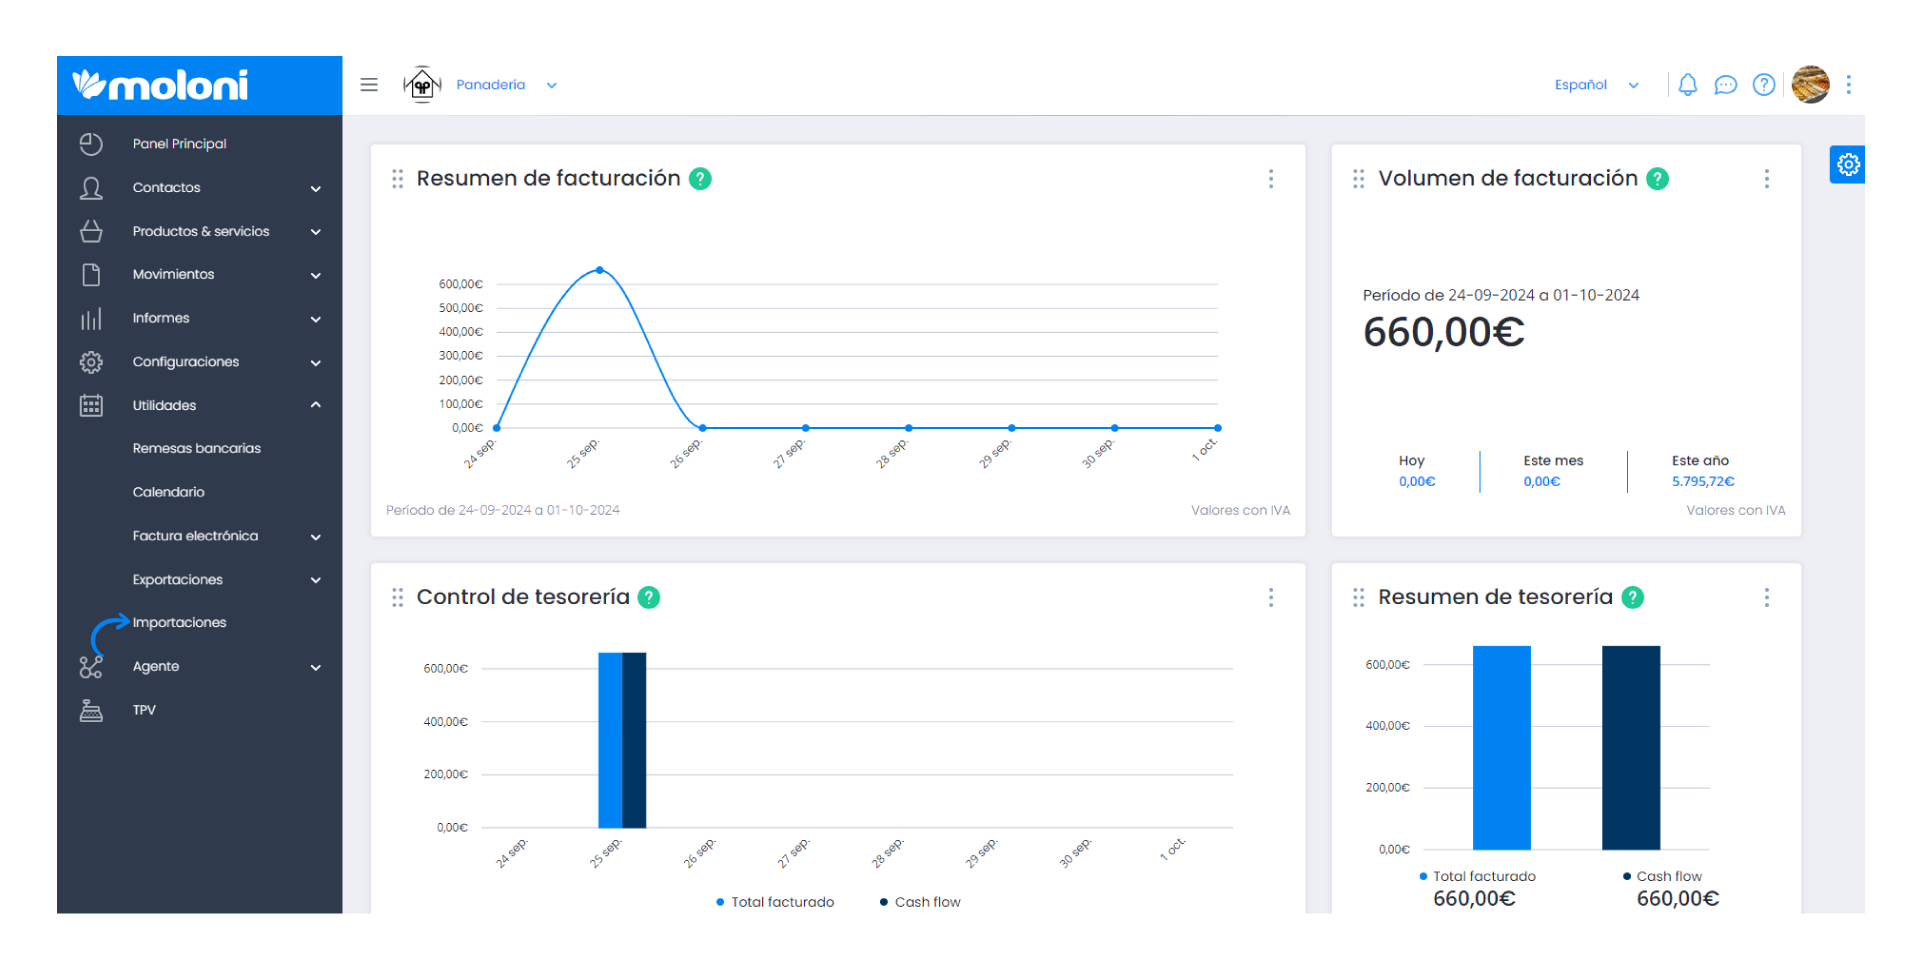
1. Go to the Utilities - Imports menu.
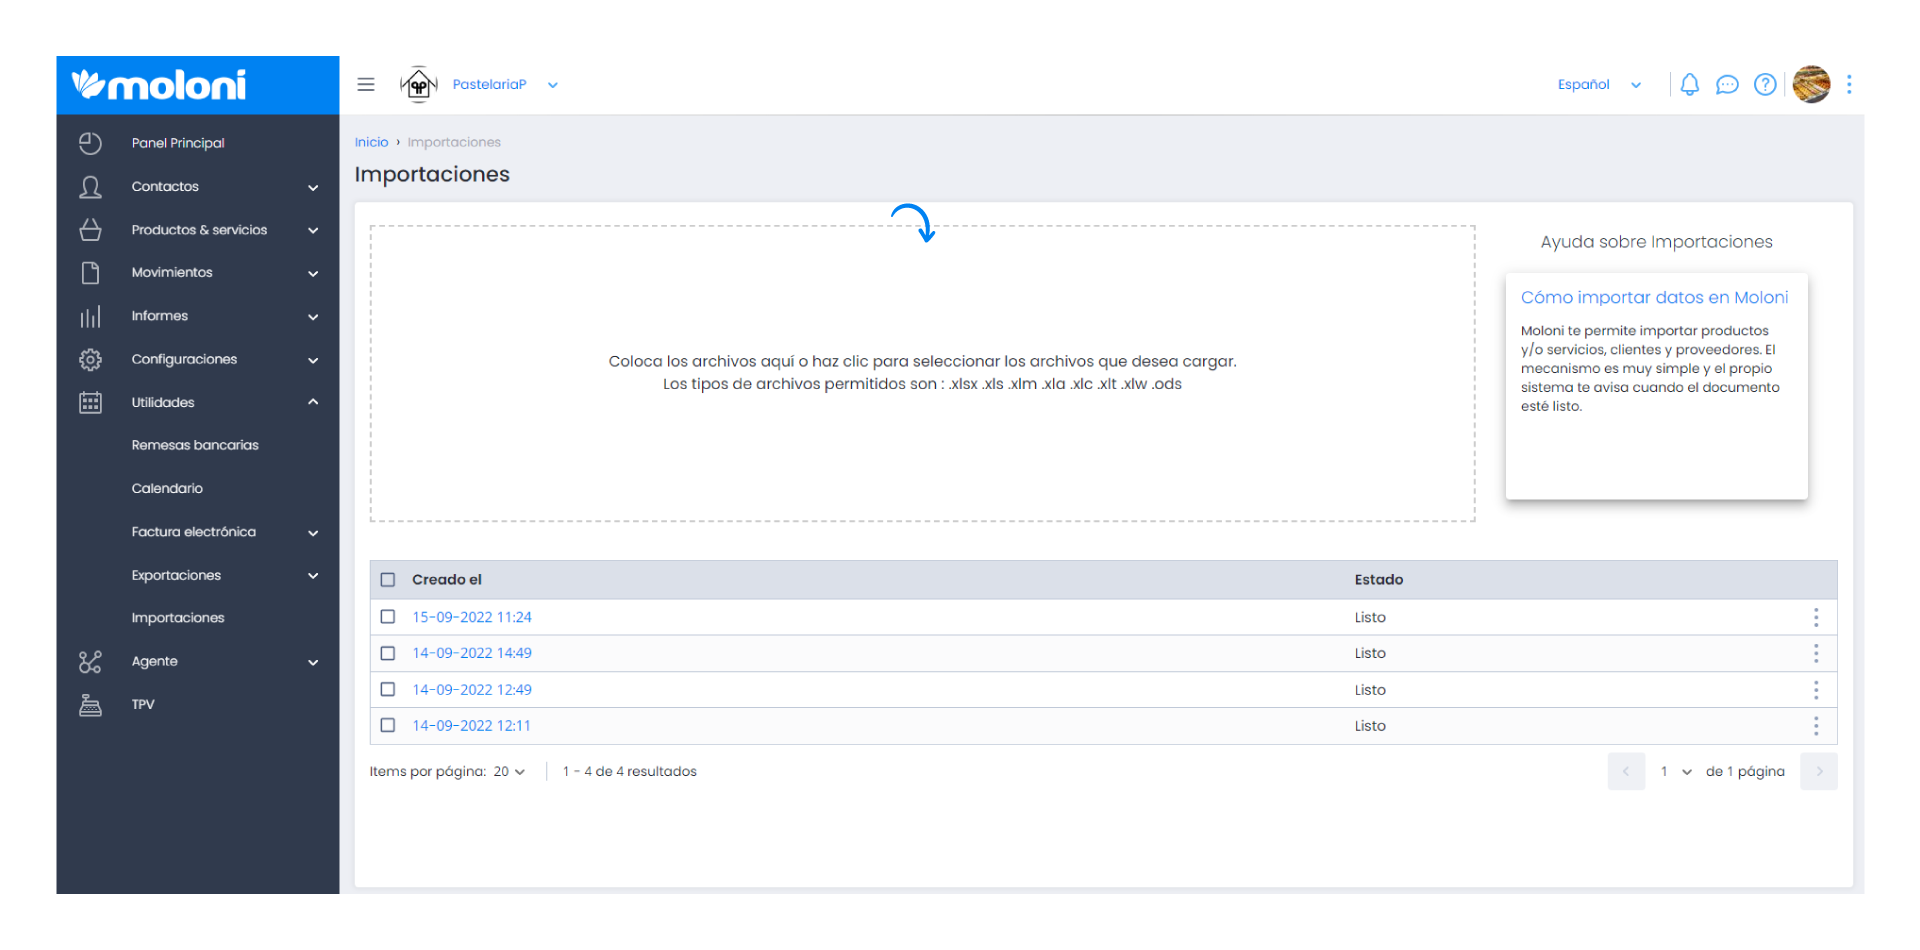
2. Next, drag the file into this area.
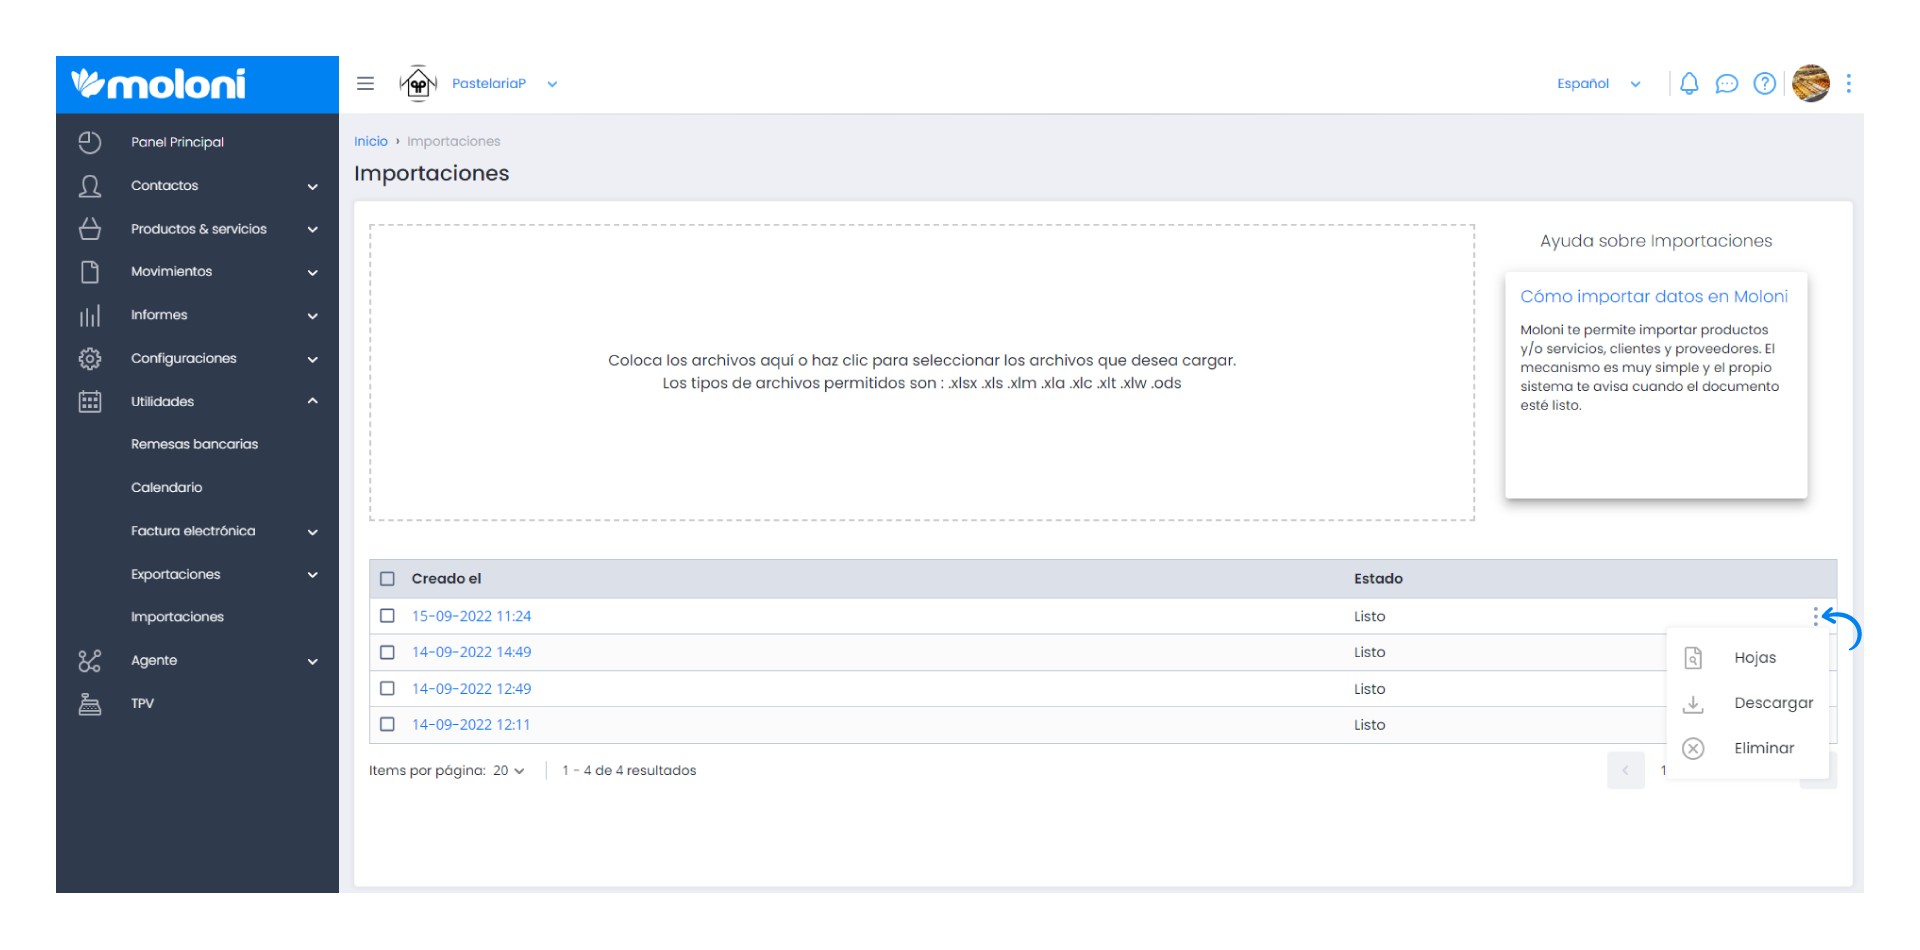
3. The system will alert you when it is ready, click on the 3 dots and choose Sheets.
4. Next, organise the information. First, choose an option for Import Type. In the Header Line choose the row that corresponds to the table header. Whenever you change this field, you should also activate the check icon. Click Update in case of conflict button if you are updating products that are already in the platform.
It is also possible to add more columns. Imagine for example that in your file there is no column with the city. This way you can create a column with this information by clicking on Create column.
Then, under Fixed Value you could add Madrid and on Import Type the City option. This example column would apply to customers or suppliers.
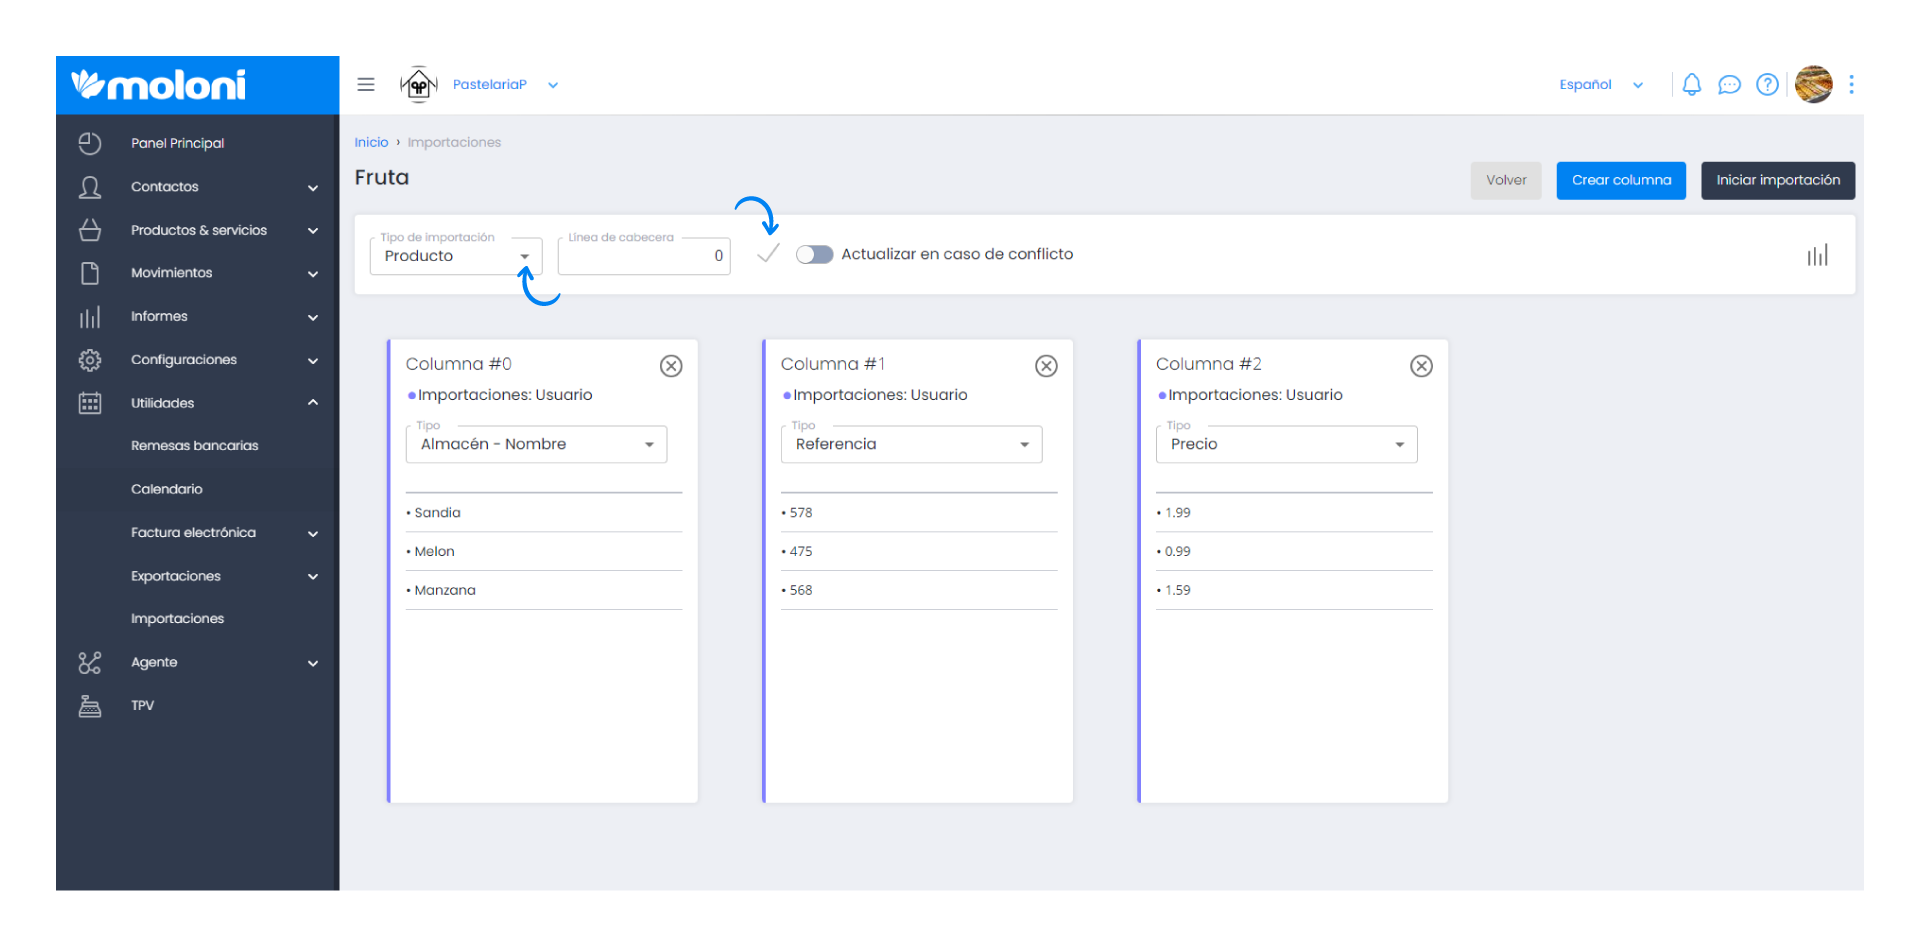
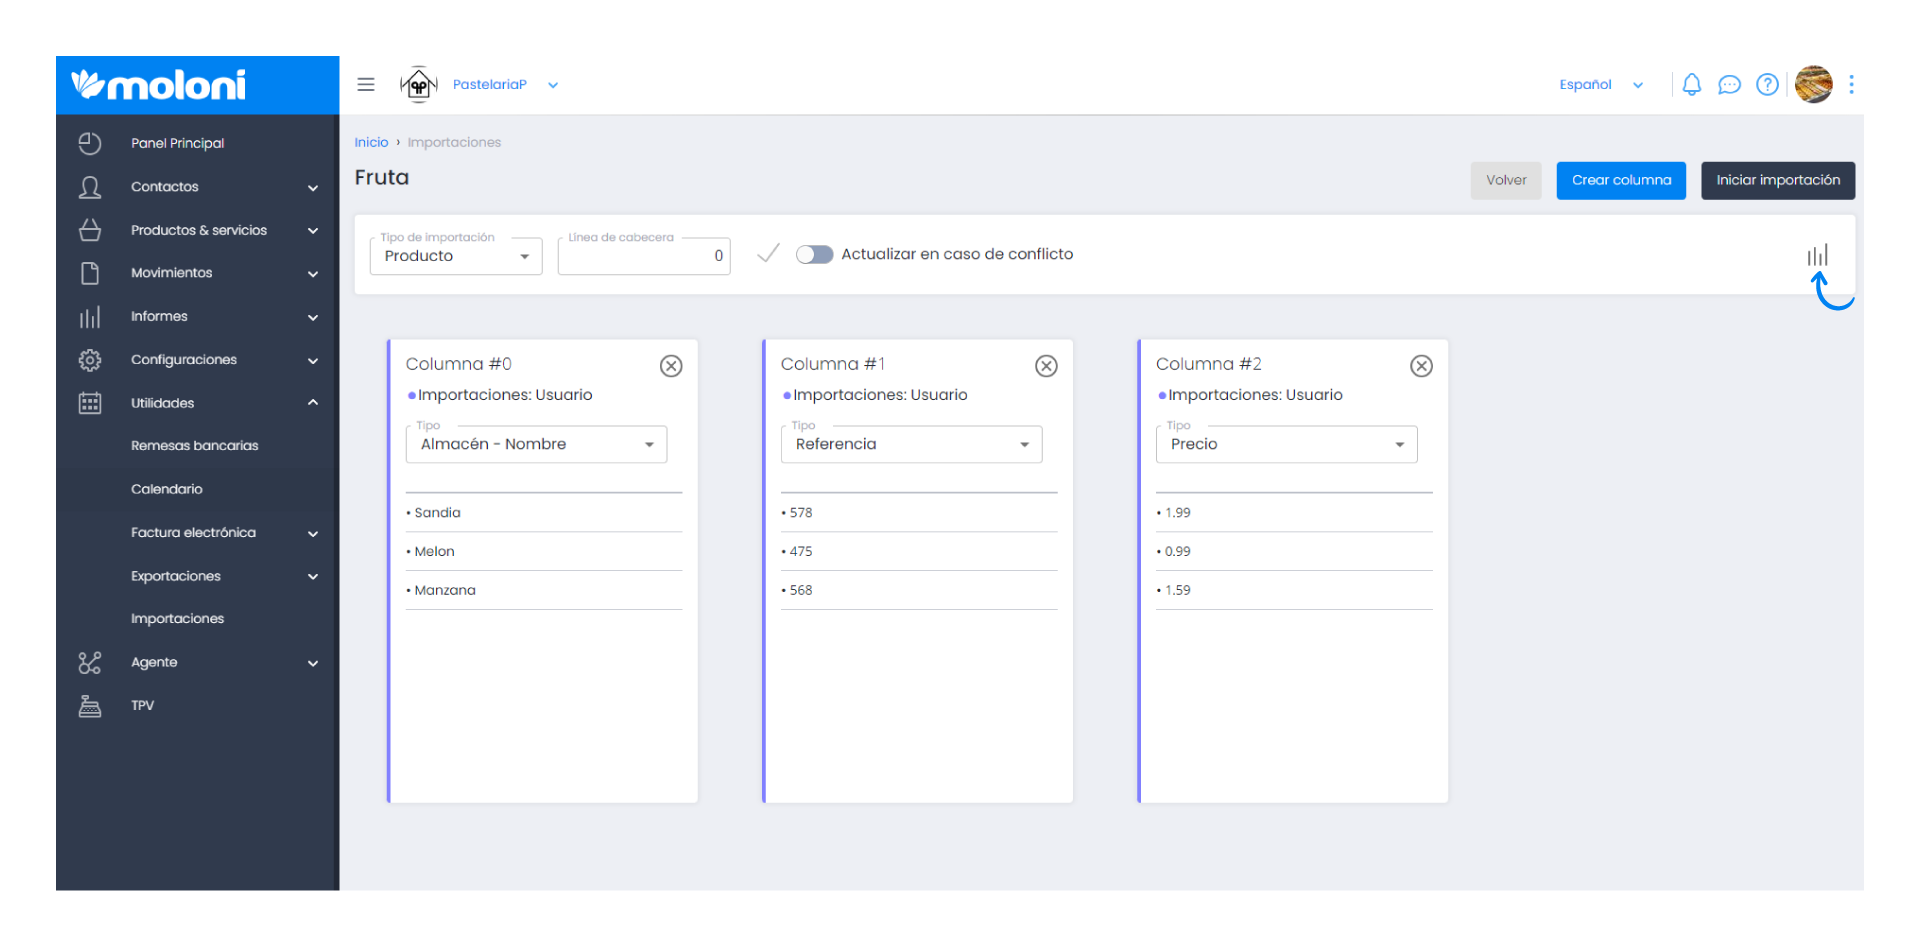
5. Finally, organize the imported information. Select the correct option for the data in each column.
Then, click Start Import to have the data imported.
In this icon you can also change the view.
Important Note
With the import done, if you go back to the 3 dots and then click Error file, you will find possible errors and you can correct the columns.
Encuentra aquí todo lo que necesitas
Ayuda complementaria
Asuntos relacionados con "Customer area"
Otros temas de ayuda
Nuestra documentación está organizada por familias y subfamilias
que son actualizadas con regularidad para que puedas estar al corriente de las modificaciones, consejos y trucos.
Suscripción a nuestra Newsletter
Noticias sobre el software, legislación y otra información de interés.
Descargar la App


Sobre Moloni
PresentaciónCaracterísticasTPVPlanes y preciosÁrea de clienteDesempeño y SeguridadSobre NosotrosLegalAplicaciones móviles
Moloni ManagerIntegración y Socios
APIMoloni Pro ConnectorTicketBAIPrestaShopShopifyWooCommerce