
Guía paso a paso
¡Encuentra todos los procedimientos completamente explicados!
Siéntete siempre apoyado, incluso cuando no estás en contacto con nosotros.
Configuring user roles and permissions
Temas relacionados
Settings - User groups and permissions
Customer area
Configuring user roles and permissions
In terms of concept, access permissions are assigned to user roles. Users created on the platform can belong to a role with access to different modules.
To configure user access permissions in the client area, you must have the PRO plan.
Follow these steps:
1. Go to the Settings > Company and Users > Roles.
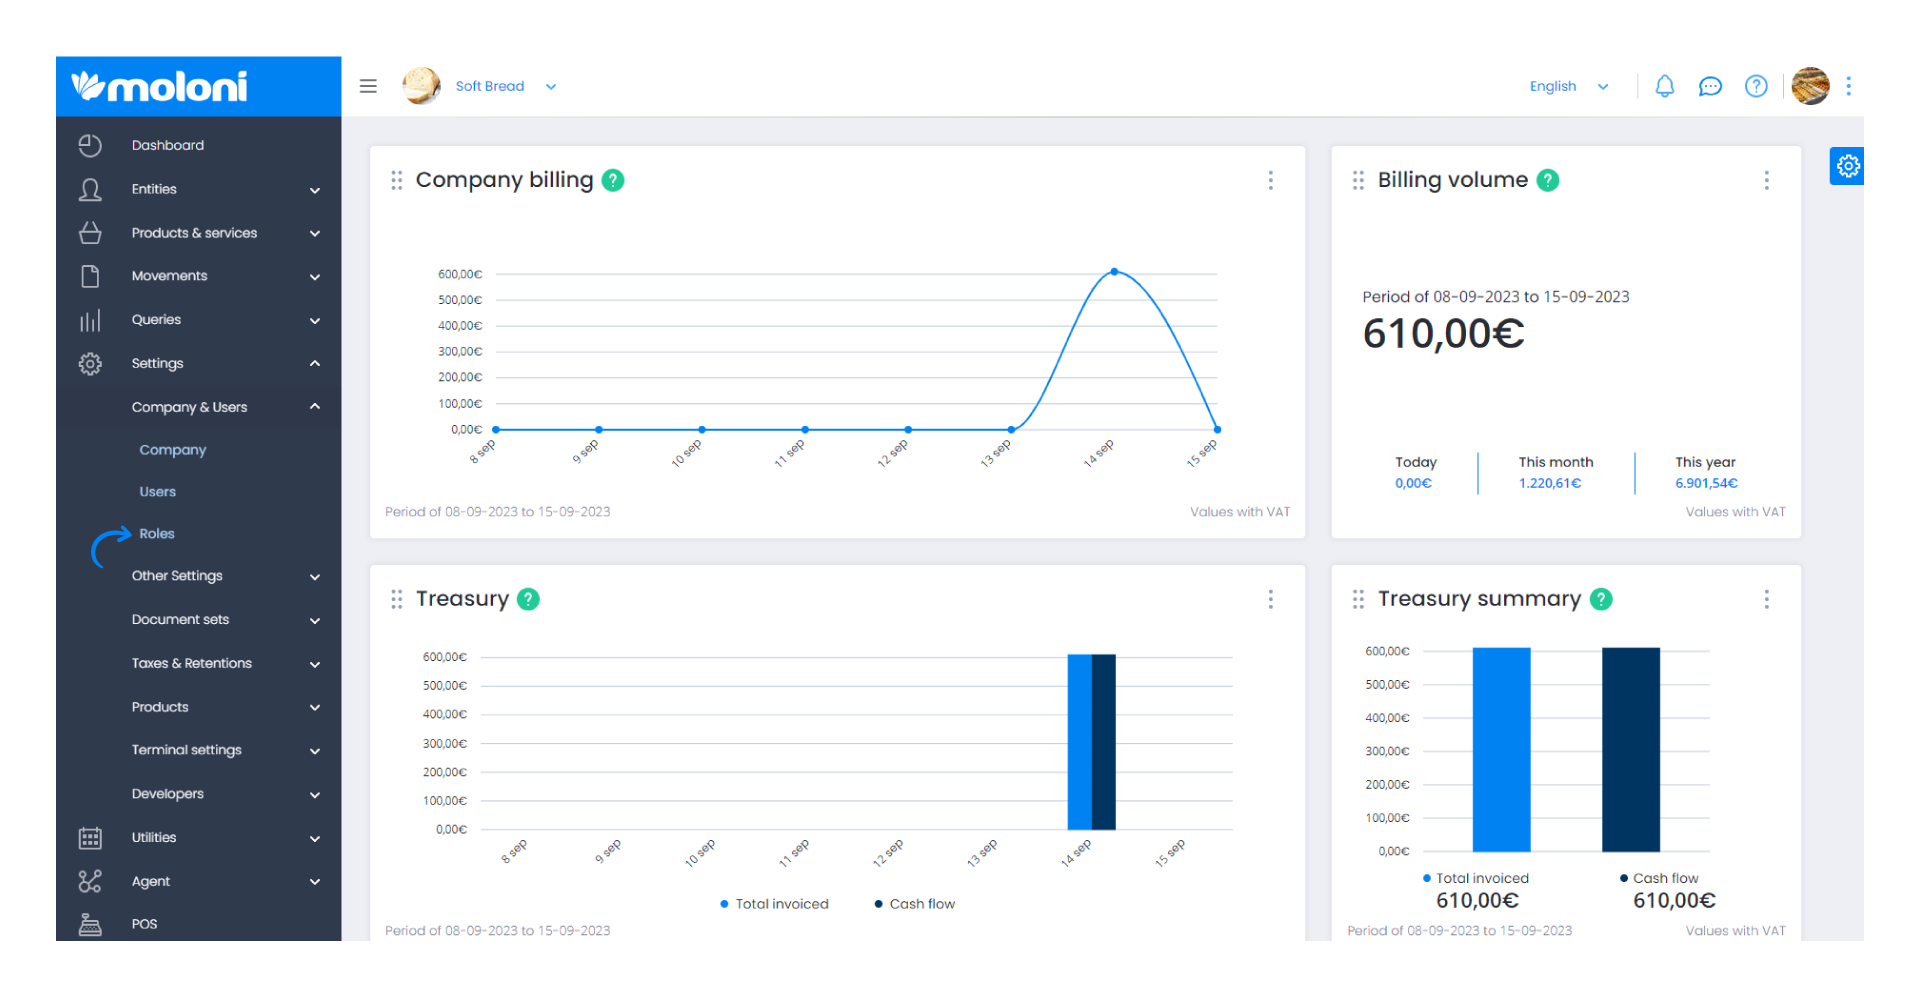
2. Next, create a user role by clicking the Create button.
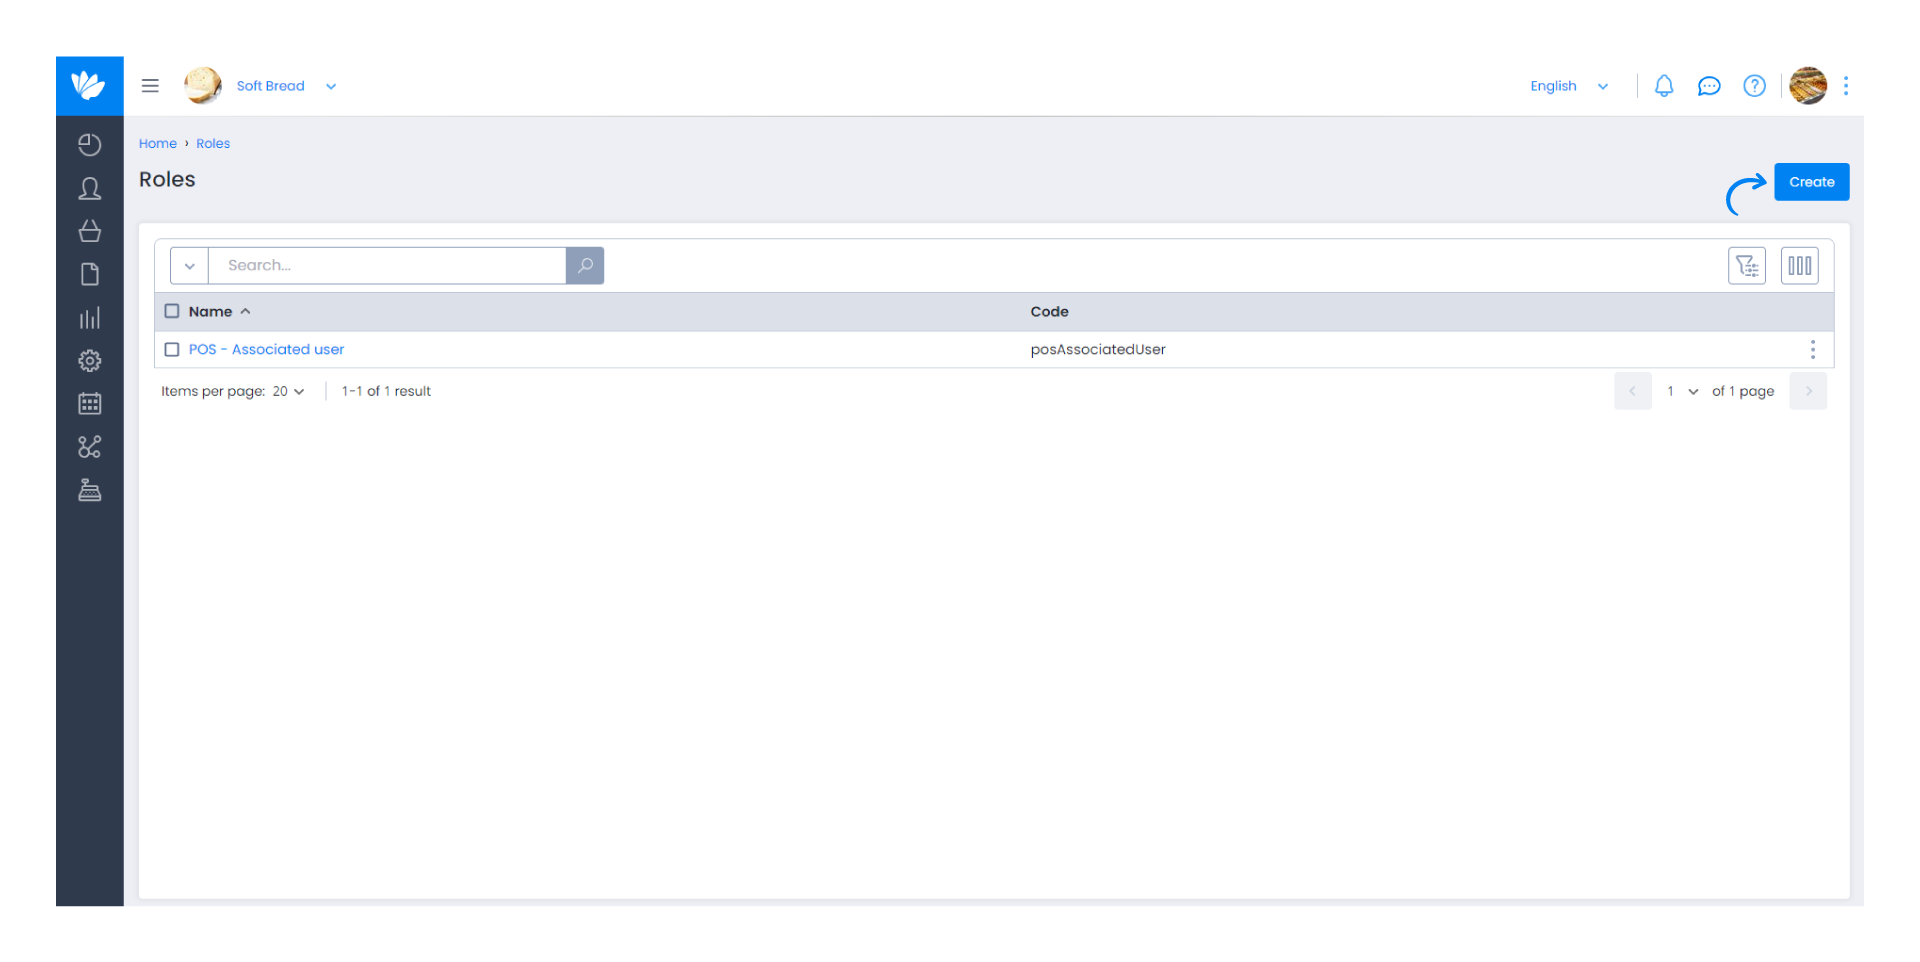
3. Enter a name and a code.
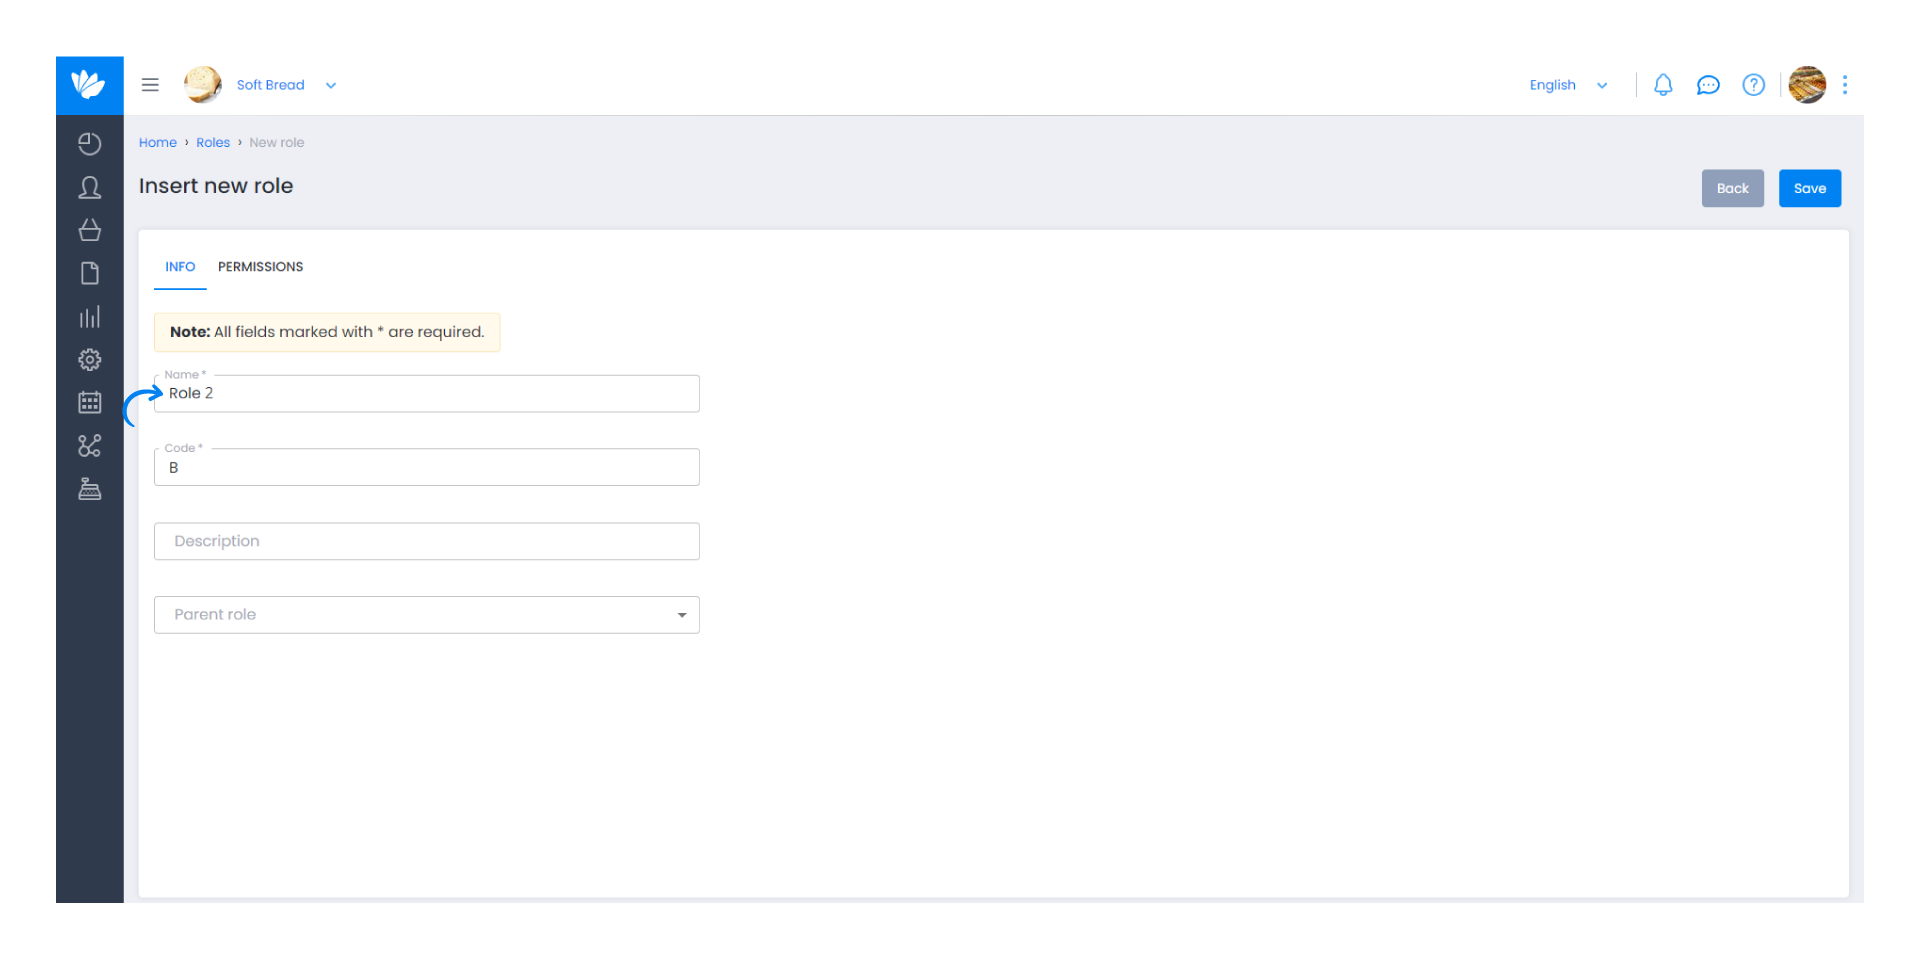
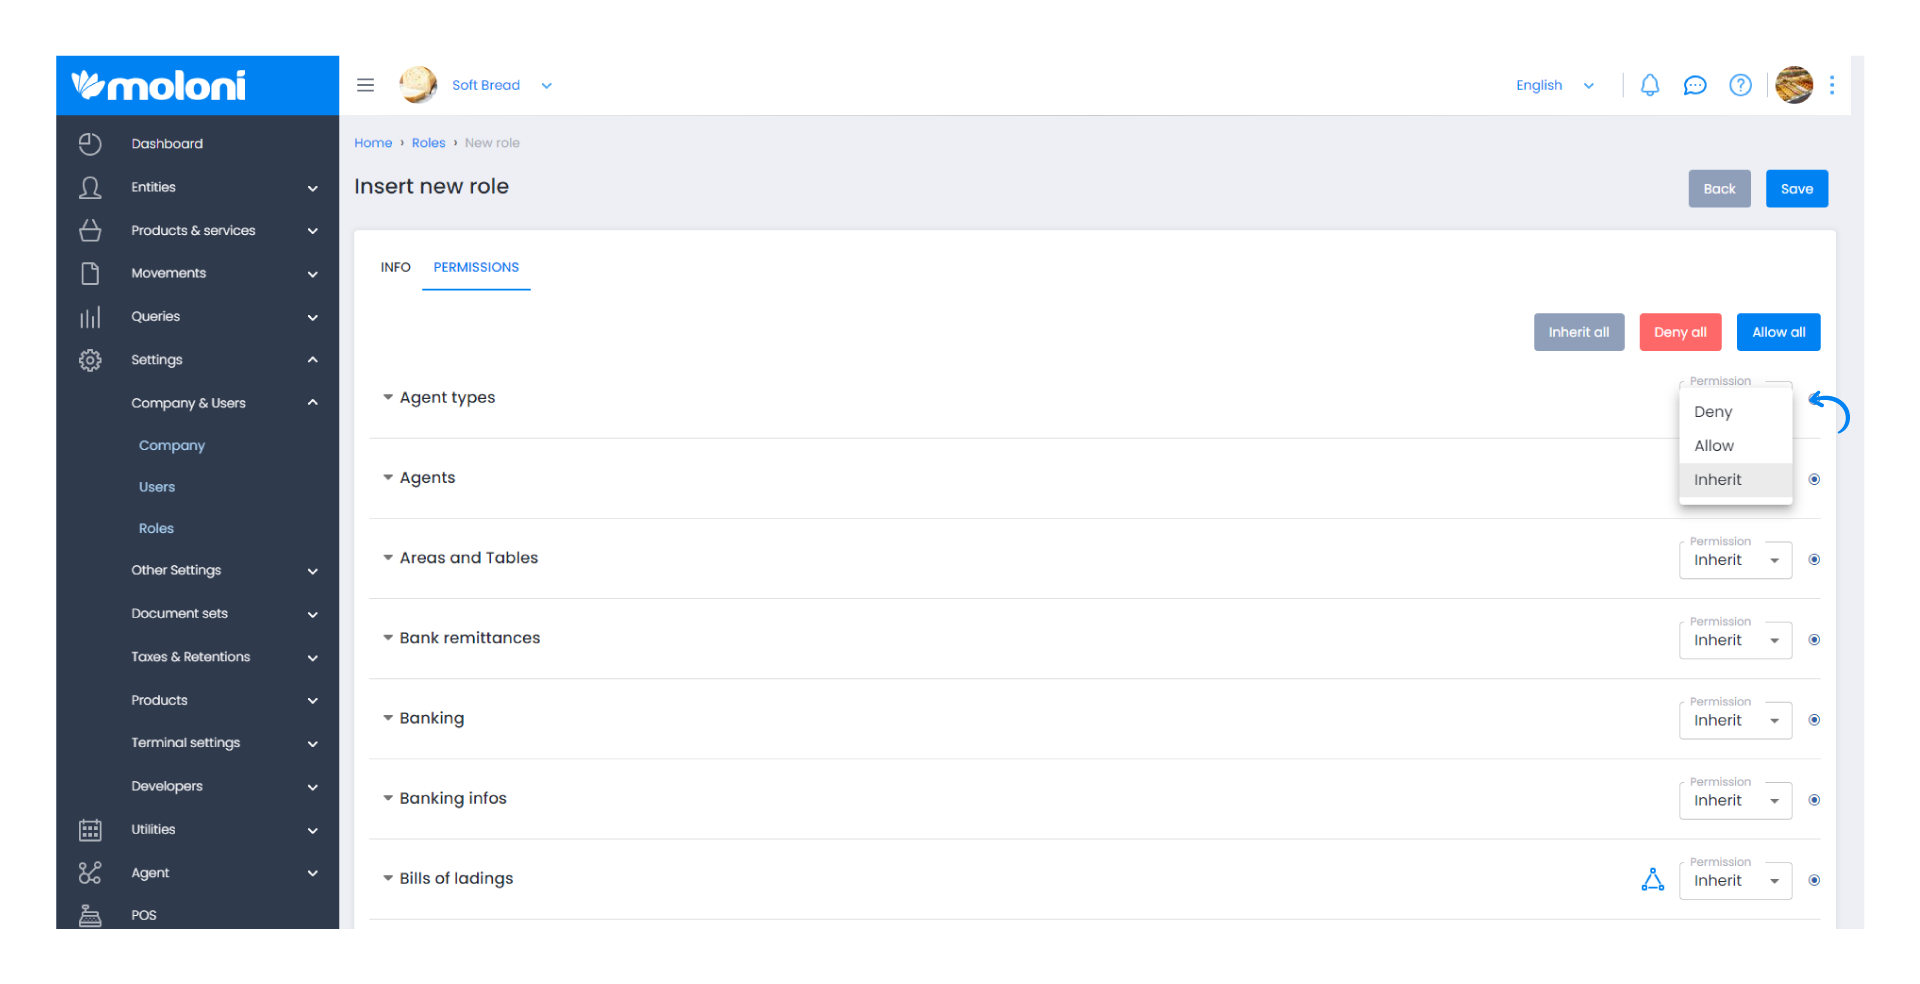
4. Then, click on the Permissions tab. The tab is organised by modules and types of actions. The modules are listed to make searching and configuration easier.
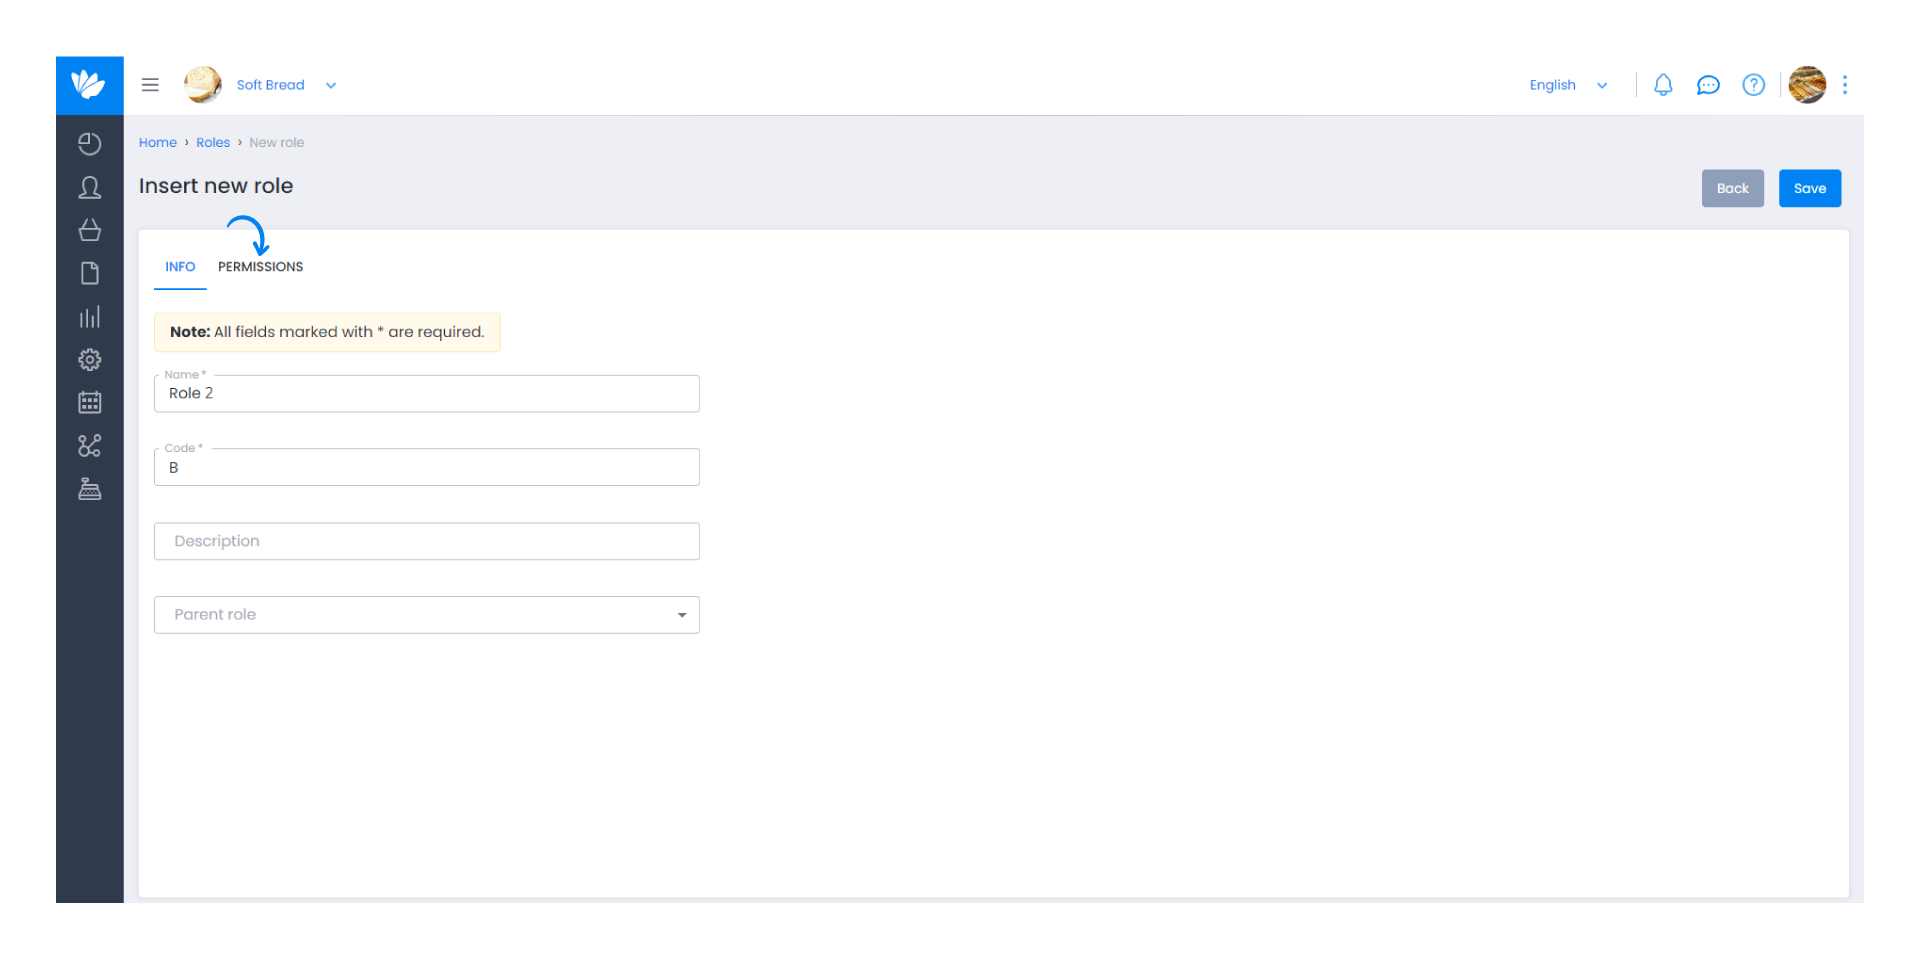
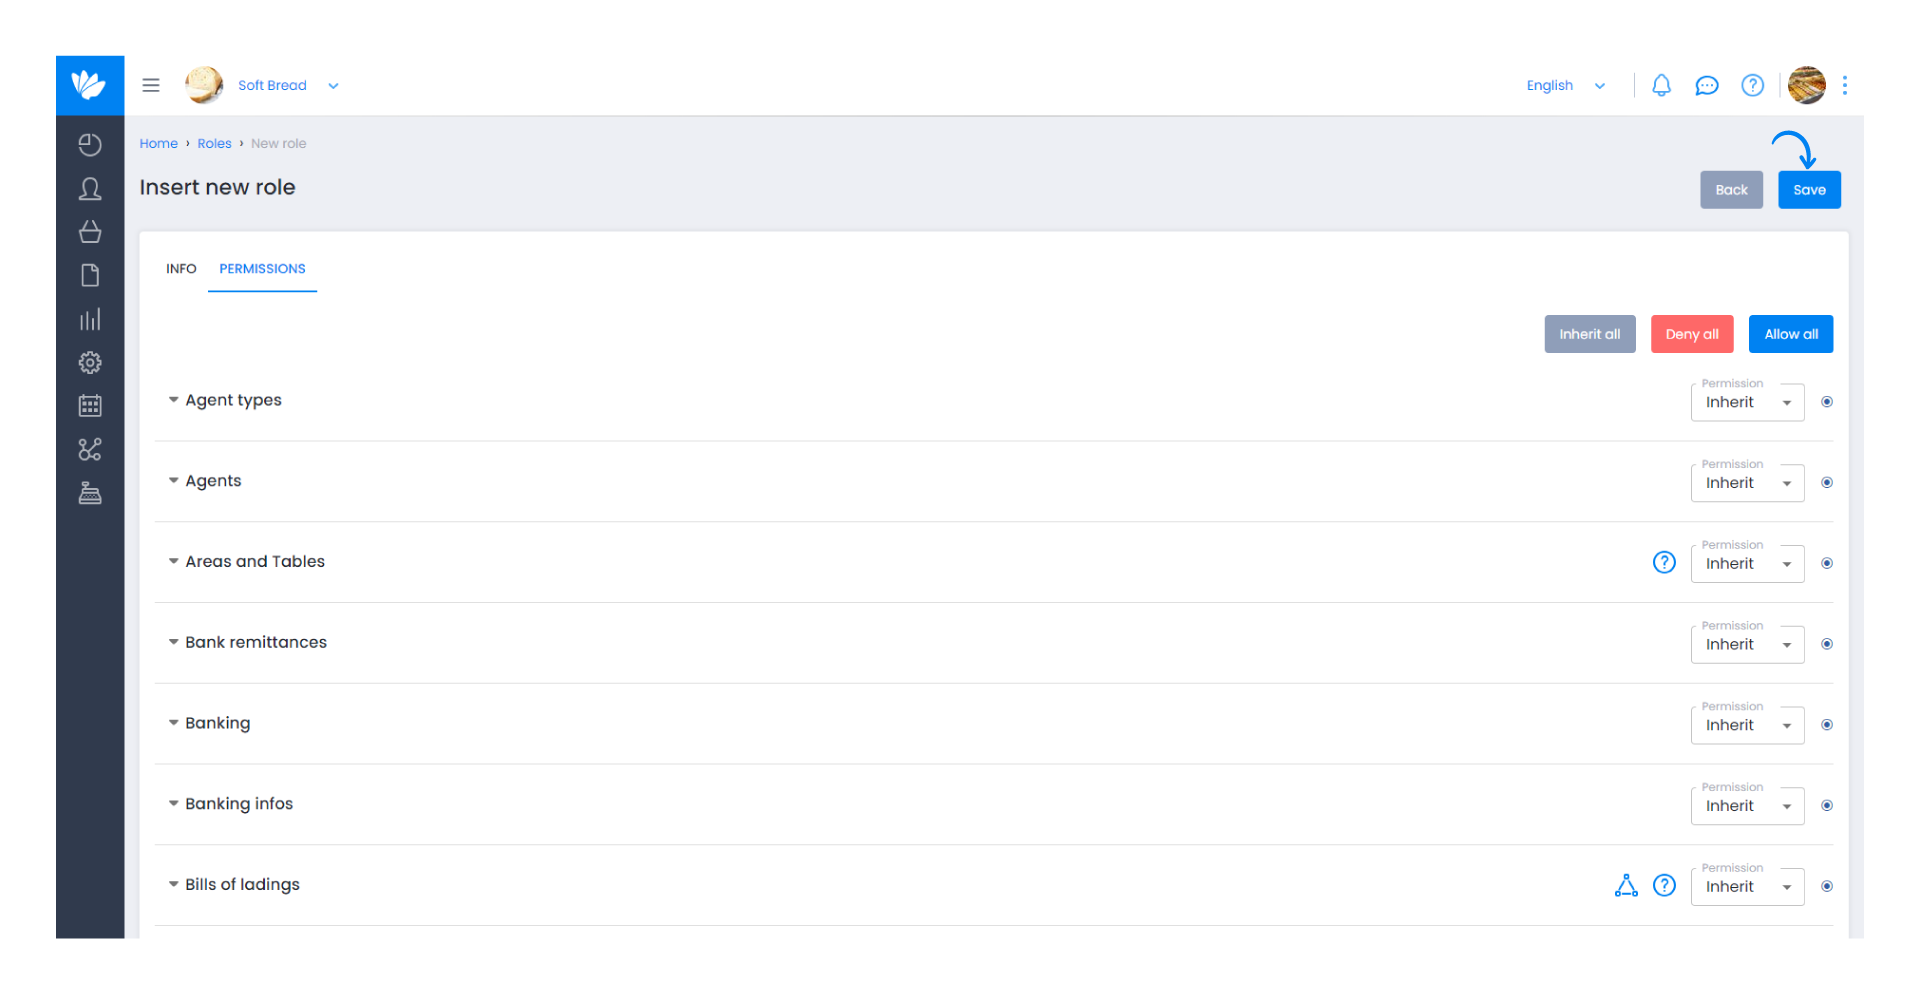
5. Select the desired permissions and finish the process by clicking the Save button.
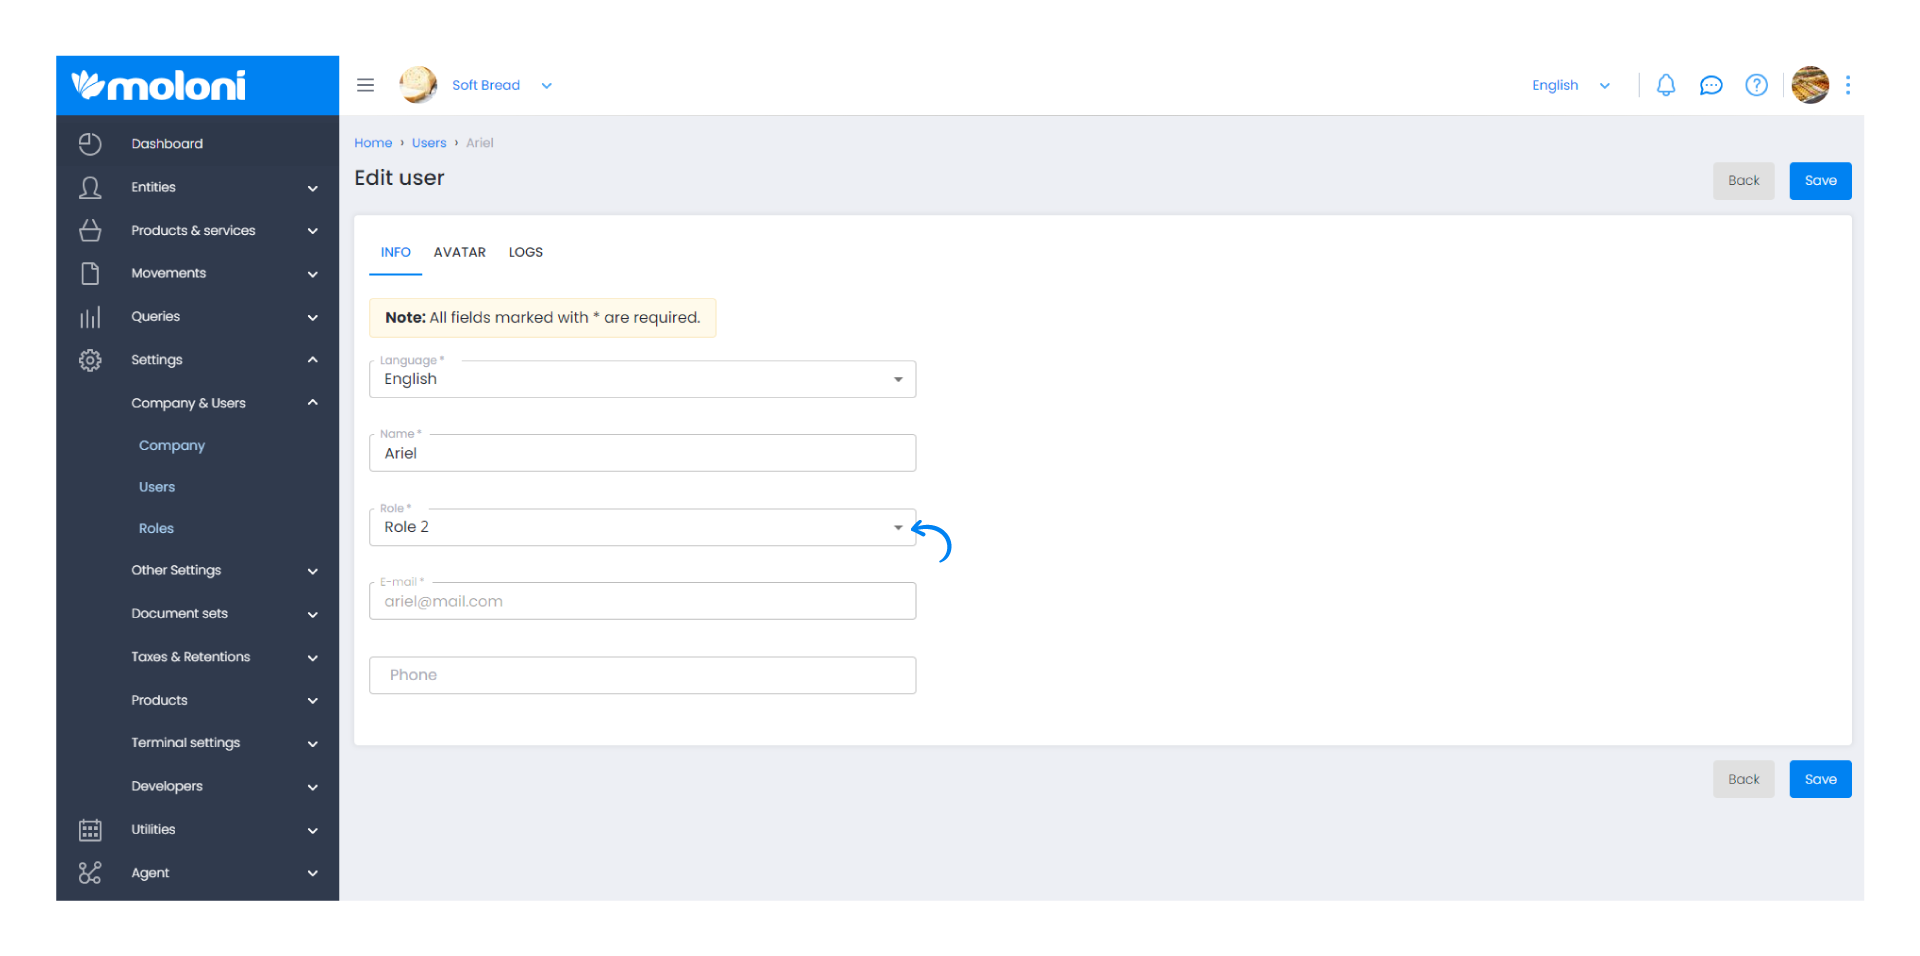
6. Finally, access the users to whom you want to apply the created role by clicking Edit and selecting the desired role in the Role field.
Note:
Whenever the options Deny, Allow, or Inherit appear in the permission column, a red icon appears, indicating that users belonging to this role do not have access to all channel permissions or some, such as create, update, delete, etc.
By default, access to the channels and actions of created roles are set by the administrator. To apply the same permission to all actions, select the Allow or Deny option and in the following ones, select the Inherit option.
It is also possible to allow certain actions and deny others by choosing the Allow option at the top of the submenu and then selecting the desired option.
We recommend installing the POS application for operators who only work with it. For installation, follow the steps in this Guide.


